


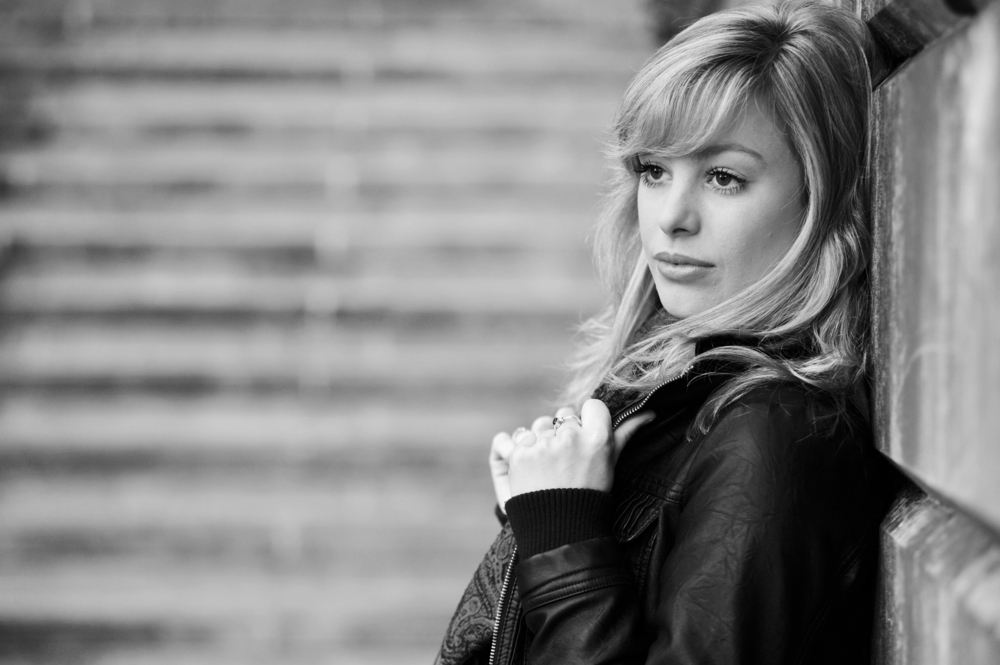
You may sometimes find yourself in a low-light situation in which you are not able to use your flash for one reason or another. For example, some couples may not want you to use a flash during their wedding ceremony. Here are a few tips that will help you make the most of the situation, and avoid blurry photos.
1. Fast Lenses
The lower the f-stop, the “faster” a lens is considered to be. Using a lens with an f-stop of f/2.8 or lower will maximize the amount of light entering your camera, thus allowing you to use a faster shutter speed, and avoid camera shake. Typically, fast lenses tend to be more expensive, but there are several affordable fast lenses on the market. For Canon, the 50mm, f/1.8 is around $100 and for Nikon, the 35mm, f/1.8 is around $200.
Having just a few extra f-stops can make a big difference in low light situations.
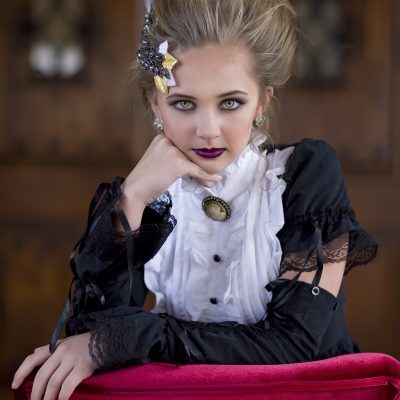
2. Raising Your ISO
Your ISO determines how much light makes its way to your camera’s sensor. The higher the ISO, the more exposure you will have in your image. Now, the downside of raising your ISO is that you will often experience a certain amount of digital “noise” in your photos. If you have a full-frame sensor in your DSLR, as in the Canon 5D Mark iii, for example, you will be able to increase your ISO a great deal without experiencing too much noise. With a crop-sensor, however, you will see more noise, because the sensor is smaller than a full-frame sensor. Experiment with higher ISO settings on your camera in order to see how the different ISO numbers will affect the noise in your image.
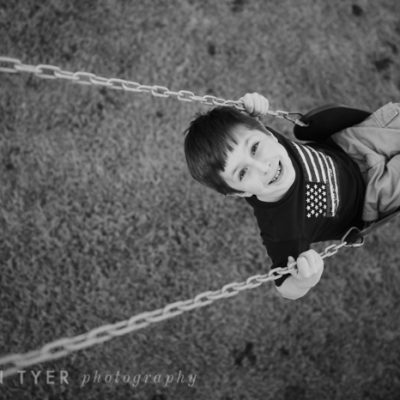
3. Use a Tripod
If at all possible, using a tripod will help you keep your camera steady, allowing you to use a slower shutter speed. If you need to move around while you are shooting and a tripod is too cumbersome, you may want to try using a monopod, which will allow you to move about more freely.
4. Post-Processing
Using Photoshop or Lightroom’s noise reduction settings is also very helpful if you find that your photos have a lot of noise from using a high ISO. Try shooting in RAW, rather than JPEG, when you are in low-light situations, as this will give you more control in your post-processing. Be careful not to reduce the noise too much, though, as doing so will blur your subject, and make your image look over-processed.
![]()
") Anna Gay is a portrait photographer based in Athens, GA and the author of the dPS ebook The Art of Self-Portraiture. She also designs actions and textures for Photoshop. When she is not shooting or writing, she enjoys spending time with her husband, and their two cats, Elphie and Fat Cat.
Anna Gay is a portrait photographer based in Athens, GA and the author of the dPS ebook The Art of Self-Portraiture. She also designs actions and textures for Photoshop. When she is not shooting or writing, she enjoys spending time with her husband, and their two cats, Elphie and Fat Cat.


thanks for the tips! Recently started out and every day is a research and learning day!
Great tips! What if your computer can’t handle too many RAW files? I am running out of space and I only have iPhoto for editing. any tips?
very informative post indeed.. being enrolled in http://www.wiziq.com/course/9277-lr-vr-di-ds-speed-calculations-quant-general-awareness,I was looking for such articles online to assist me.. and your post helped me a lot 🙂
Excellent basic tips for getting the most out of low light shoots. After noise reduction in post production, I frequently sharpen and lower the opacity on the sharpening. This frequently gives the shot more clarity. Definitely post production will help the “darker” shots.