


by guest contributor Anna Gay
A topic that is sometimes a bit confusing for new Photoshop users is cropping images to fit certain dimensions for printing.
To crop an image in Photoshop, most likely, you are going to lose a little bit of the image if you are shooting with a DSLR, and most of us are! The reason behind this is that the image produced in your digital camera tends to be longer than standard print sizes.
Now, you can get by without cropping for printing, but, like I said before, you will have a very long image, and finding a frame to fit your image can be tricky. To be on the safe side, you may want to consider cropping your image to a standard print dimension.
Standard Print Sizes for Framing
Here is a quick list of common print sizes, in inches:
- 3.5×5
- 4×6
- 5×7
- 8×10
- 11×14
- 16×20
- 20×24
Keep in mind that if you would like to mat your prints, you’ll need to consider the size of the print AND the mat within the frame. So, if you want to use a 16×20 frame, you’ll need your print to be around 11X14 to give enough room for the mat to fit in the frame, as well. If you are not planning to mat, though, you can print your image at the same dimensions as your frame.
Cropping in Photoshop
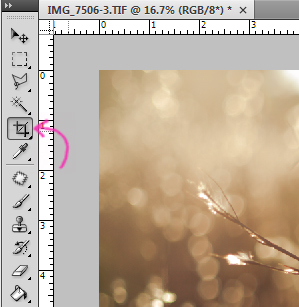
Select your Crop tool in the left-hand toolbar
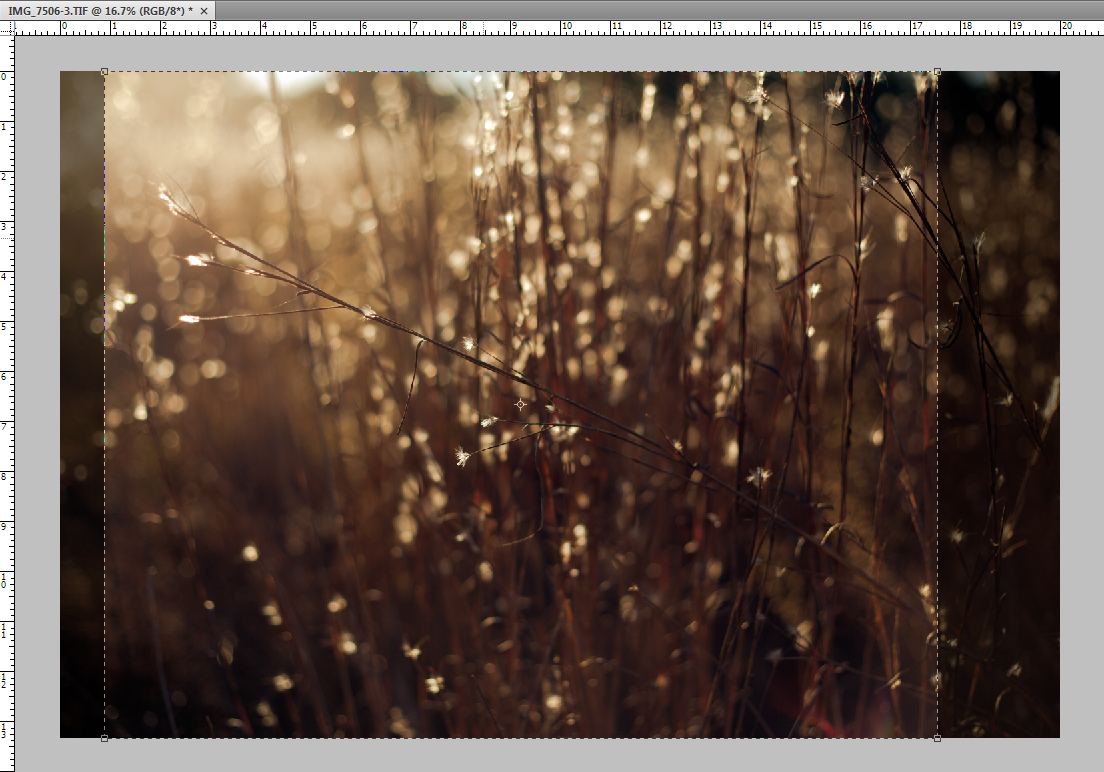
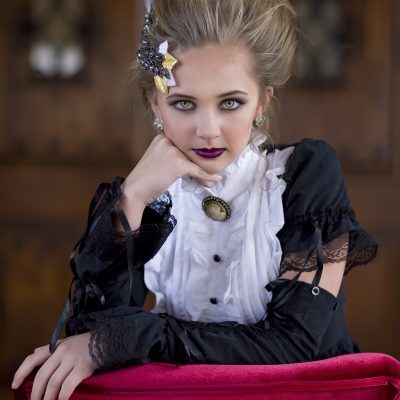
Now, in the Width and Height value boxes, enter the dimensions of the print size you would like to crop to – for this example, I’m making an 8×10 crop. Since the original image is really wide, I made the width 10 inches and the height 8 inches, in order to preserve as much of the original image as possible.
Also, make sure the resolution is set to at least 300 pixels/inch (also known as “ppi”) in order to insure maximum print quality and to avoid pixelation.

Next, to crop your image, left-click and hold down on your mouse as your drag the crop box across your image. When you release the left button on your mouse, you will then be able to move the box around on your image until you are satisfied with the crop:
When you are satisfied with the crop selection, right click once with your mouse, and you will then see a prompt for “Crop” or “Cancel.”
The crop tool will let you crop to any dimensions/ppi you like, so this is a great resource if you need exact dimensions.
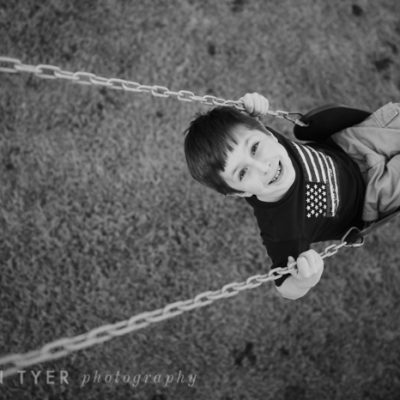
Also, you can switch up the height/width if need be. For example, if you are putting together a scrapbook, and you need a vertical image as opposed to a horizontal like we just cropped above, you can crop your image to vertical instead by reversing the height/width values:
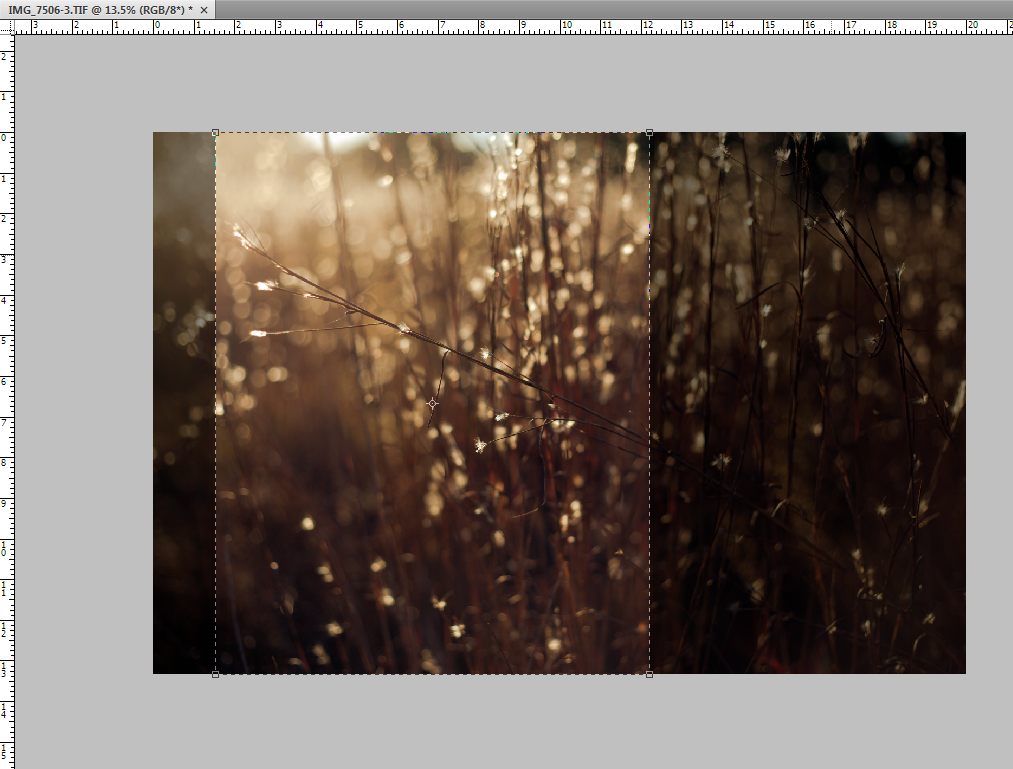
As you can see, with the vertical crop, we are definitely losing a lot of the original image, so keeping your crop either vertical or horizontal to match the original image from your camera is helpful. But, if you are in a pinch and absolutely have to crop a different way, it can be done!
One last thing
A common mistake that is made with cropping in Photoshop is to use the Image Size feature. This feature will only work if you are resizing your image with the same proportions, making adjustments like setting a smaller ppi, or different pixel dimensions for the height/width, for example. So, if you try to resize your original image to, say, 16X20, it will drastically distort your image.
Original:
Entering 16X20 in Image Size feature
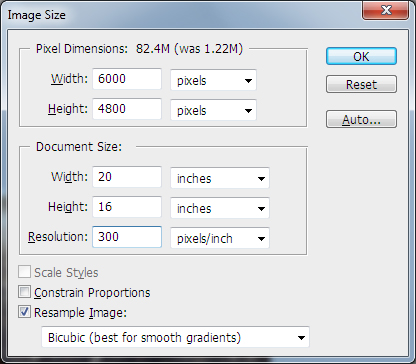
The result

So, for all intents and purposes, try using the Crop tool, as this will give you the most accurate dimensions for printing, without distorting your image.
![]()
") About the Author: Anna Gay is a portrait photographer based in Athens, GA and the author of the dPS ebook The Art of Self-Portraiture. She also designs actions and textures for Photoshop. When she is not shooting or writing, she enjoys spending time with her husband, and their two cats, Elphie and Fat Cat.
About the Author: Anna Gay is a portrait photographer based in Athens, GA and the author of the dPS ebook The Art of Self-Portraiture. She also designs actions and textures for Photoshop. When she is not shooting or writing, she enjoys spending time with her husband, and their two cats, Elphie and Fat Cat.


Thankyou for this info. I was wondering Is this how I would also fit an image on a wrap around canvas also? Or is there a way to “shrink” the image?