


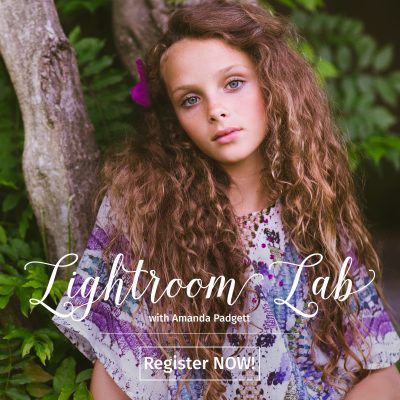
by Guest Contributor Amanda Padgett
Hello! I am super thrilled that Pretty has asked me to come back and do another editing tutorial and “challenge” with you!
When I was thinking about what I could talk about or teach, the main thing that came to me was levels. Levels is an amazing adjustment layer that both Photoshop CS# and Photoshop Elements has, and in my opinion, it is seriously under-used. So, today I’m going to be the “Levels Evangelist.”
To teach levels today, I am using a picture I shot of my daughter last fall, when the white balance was not set right, giving me an image that was too pinkish.
You can download this picture at Flickr, if you would like to work along with me during the video (below).

If you remember from my first edit tutorial/challenge, the first few things I fix when I begin the edit process is exposure, contrast and white balance. Today the white balance is glaringly off, so I am going to fix that first! Here are the steps I followed for my edit:
- White balance fix: Levels adjustment, click the gray dropper and then click around on the whites of the eyes until you find a WB that suits the image. Lower the layer opacity if needed.
- Contrast bump: Levels adjustment, pulling in the black slider to about 12 and the gray slider to about 1.08.
- Brighten eye sockets and face: Levels adjustment, pulling the gray slider over to the left to about 1.25 and the black slider to around 7. Then I inverted the mask (control/command + i) and brushed over the eye sockets at about 50% brush opacity and then over the whole face at about 30% brush opacity. Then I lowered the layer opacity to suit.
- Color pop: Levels adjustment, pulling in the black slider to 19 and the gray slider to .93. Inverted the mask and brushed only over the grass and her shirt.
- Light-up catch lights: Levels adjustment, pulling in the white slider to around 224, the gray slider to 1.35, and the black slider to 8. Then invert and brush over catch lights and iris of each eye.
- Warm it up a bit: Warming filter 85, reducing layer opacity to around 50%.
- Whiten teeth and eyes: Hue/Saturation adjustment, reducing saturation and increasing lightness. Invert and brush over teeth and eyes at different brush opacitites, then lower layer opacity to around 50-60%.
- Fix under-eye circles: Blank layer, use eye dropper to sample “good” skin around under eye circle, then click on brush and brush the color over the circle. Repeat for other eye and then lower layer opacity to around 40%.

Here is the before and after comparison. I think it is a nice, realistic, clean edit that did not take super long to accomplish. And, it helped show off how awesome Levels is!

Hopefully, the first edit challenge helped you be more familiar with what we did today. If you are a little confused still, watch the video below. I show the whole edit process in both Photoshop CS5 (plays first in video) and in Photoshop Elements 10 (shows second in video). Those reading this blog post in a blog reader or via email, the video will not show up for you. Please click over to the blog and then you will be able to view it.
![]()

Hello! I’m Amanda, a quirky, introverted Mom of four, who is passionate about helping others learn their cameras and editing software. I also currently homeschool my four kids, ages 13 to 6, all whom run away when they see me carrying my camera.
Visit me at my WEBSITE and FACEBOOK page!


Love these tutorials! Keep ’em coming!! Thank you!
Awesome tutorial! Thank you!!
This is very helpful for anyone who’s not familiar with or comfortable with using levels. I am a photography student and we deal a lot with levels in my classes. Forgive me, but it looks like you lost a lot of detail in the clean edit image. Her face looks a little blown out and flat, especially around the bridge of the nose, but that’s just my opinion.
Thanks for the tutorial. I used it on one of my photos this evening and the results were spectacular. Thanks again.
Kathryn, I appreciate your feedback. If you look at the before shot, I did not lighten her face hardly at all, the detail may not have been in the original shot to start with.
I tried to keep this tutorial basic so that those just getting started with Photoshop or PSE can be able to follow along and not get overwhelmed.
Were there other things that could have been done to the picture to make it better? You bet! But, again, I tried to keep this simple but educational. Can’t throw everything at people all at once.
Hanakapiai, Jennifer and Staci,
Thank you all for the sweet comments! I try to keep the tutorials simple but effective.
Amanda, I love your work and appreciate your tutorials. I am using Photoshop CS2. In this tutorial, when you say you are getting a brush, a white brush, to lighten her eyes, where to you
find that white brush? I cannot seem to get it to work.
Thanks, Ann vise
Wow! I just learned so much from this tutorial. Thank you for taking the time to teach. This is wonderful!
thanks for the tutorial! so helpful!