by Guest Contributor Jessica Drossin
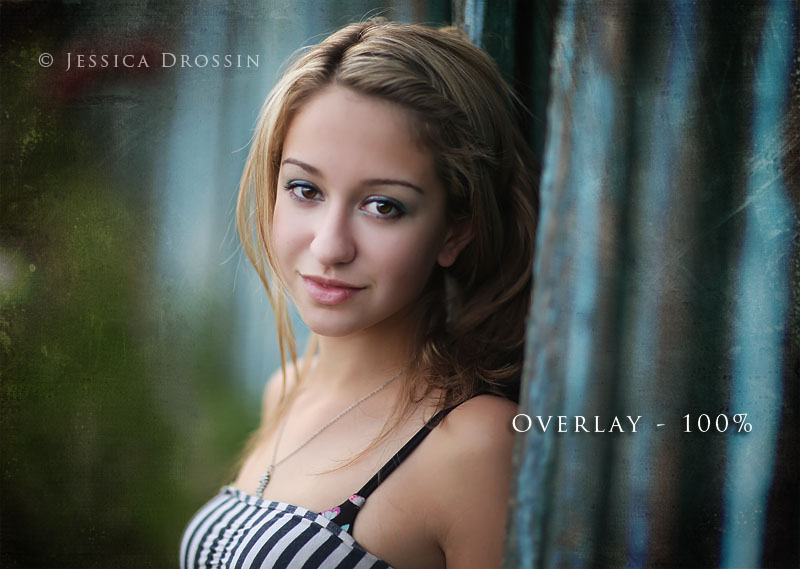
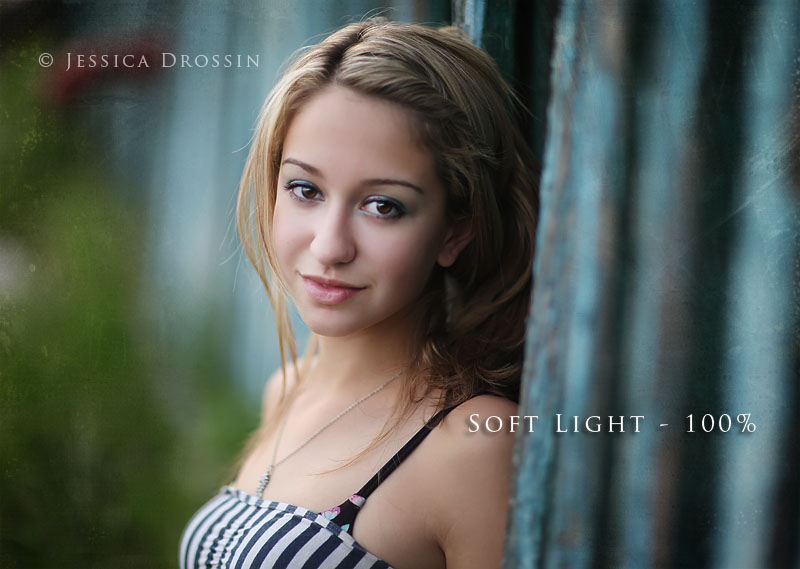
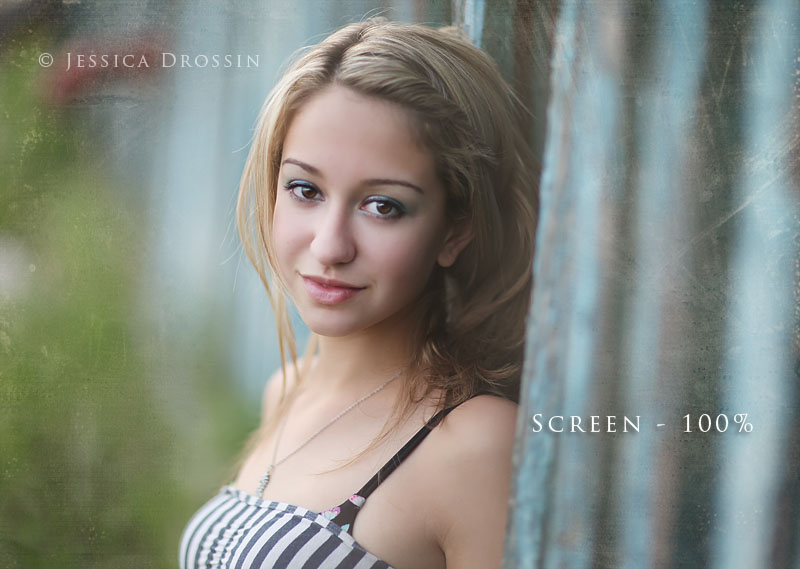
When I’m working in color, my main layer blending modes are Overlay, Soft Light and Screen. I generally apply them at 100% and then either blur, mask, or paint over the texture’s detail where it comes in contact with the skin. I also frequently blend out texture details by 20-30% in the areas around the subject.
Here is an example of my work flow and how I determine which mode to use:
SOOC IMAGE
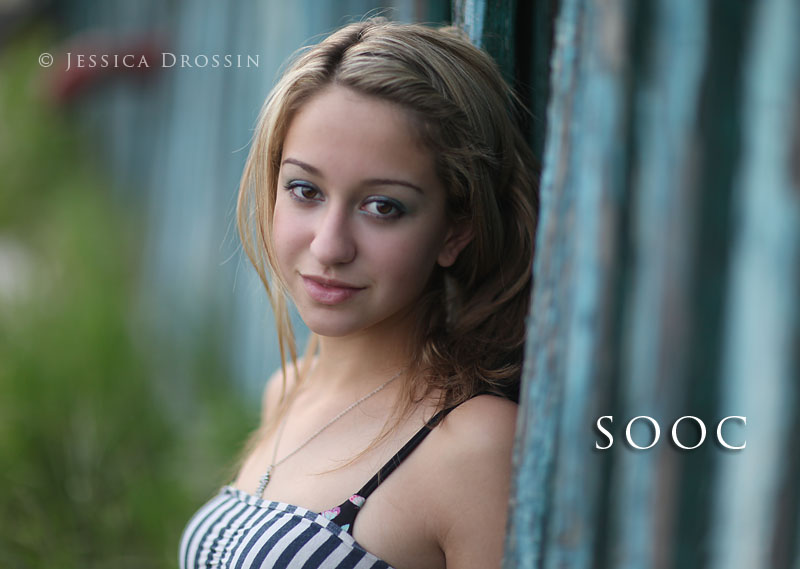
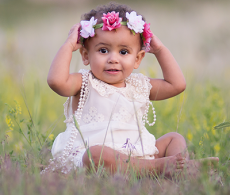
I loved the expression on my client’s face, but I underexposed the photo slightly. My first step was to color dodge her cheeks, eyes, forehead and some of the background to add selective brightness and contrast.
STEP 1 IMAGE

Then I determined the texture I wanted to use. In this case, I chose “Destitute” from my Texture Pack 2. I placed the texture jpeg on top of the photograph and stretched it so that it completely covered all edges of the background photo.
STEP 2 IMAGE

At this point, I did a few things to get the texture off my client’s face. First, I selected a medium-dark brownish tone from the texture itself and painted over the skin tones area so that I could keep the textures tone, but eliminate the texture’s detail over skin tones. I also decided that I wanted to mask out some of the color. Here you can see the texture in “Normal” mode at 100%.
Once I’ve got my painting & masking completed, I like to see the image in my three favorite modes…
OVERLAY IMAGE
SOFT LIGHT IMAGE
SCREEN IMAGE
In this instance, I decided I liked Soft Light best. To finish the image off, I added a slight overall saturation and then created a slight s-curve to add a little more overall brightness and contrast.
FINAL

Special thanks to Guest Contributor Jessica Drossin for this beautiful example of how you can use textures to create unique and stunning images.
![]()
 About the Author: As former painter and graphic designer, when I discovered I could add textures to digital photography to enhance and alter my images, I was hooked. Two years ago, I started making my own textures and selling them in packs. The packs don’t represent a theme, i.e. “urban” so much as they represent my constant search for new and unique ways to help me edit my own photography work. I love the feeling of collaboration that comes with having other photographers use my textures in their art.
Visit Jessica at her website: Jessica Drossin Textures



I have all of Jessica textures and they are amazing!!!!
Love this. Thank you very much! I’m just really getting into learning about textures and how to use them. I would like to see a full all out viddler, video tutorial from someone that knows what they are doing (Like Jessica). The texture certainly makes a difference in the finished photo It’s really great! Thanks again!
Thanks for sharing, I really like the results, I will have to try this
Love this! Thank you so much for posting your editing strategies! It’s always nice to find new ways 🙂
Jessica,
Sorry for this coming off as lame question. But what is a selective color dodge?
I see what the result was, and love it. But I am not sure what it means.
Any information would be greatly appreciated!
Shannon
I just wanted to say this an amazing post. I am a “hobbyest” photographer and I have worked with layers and masking but I didnt even really know what a texture was sadly. And after looking around online I found this post on here and SO helpful now I just need to dive in and buy a texture package and get my feet wet =]
I had a question also about color dodging. What are the steps to color dodging? Thanks for sharing!
I really need to find something like this for LR3. I don’t have PS. Anyone have any suggestions where I could find some good quality textures/presets for LR? Thanks!
This is a great post about editing, I just have a quick question. I’ve started up my photography within the last 6 months and I’ve been shooting for the last 3 years. I don’t own Photoshop or anything like that, just Aperture. I only touch up with very light editing such as brightness, sharpening, vibrancy and skin smoothing. Everyone seems to love my work- is there a real market out there for “organic” photography? Meaning, none of the textures/actions/pre-sets, etc. added to the photos. Just curious if that is something photographers think about. Thanks!
Thank you for sharing! Like the outcome. Will have to try this out.
This is a great tool! Thanks! Love your work!
I think she’s referring to using the color dodge blending mode selectively (meaning, you duplicate your background, change blending mode to color dodge, add a layer mask, then invert it and paint only on the parts that need some brightening). But I could be wrong. :o)
Thanks for sharing! This is gorgeous!
Thank you so much for this tutorial. I have most of your textures and love how you make them work…but I could never figure out how to get them to look good on my photos. Now, I have something to refer to and we will see how it goes.
Any way we could get some screen shots on the actual actions you talk about doing here? It would be really helpful!