• Pretty Forum
  • Pretty Presets
  • Pretty Actions

Pretty Forum

Online Photography | Forum | Workshops | Tips | Tutorials | Classes | Business | Courses | School

  • Home
  • Blog
  • Enter Forum
  • Workshops
  • About
    • Meet the Team
    • FAQ ABOUT JOINING THE PRETTY FORUM
    • WHY JOIN THE PRETTY FORUM
    • Testimonials
    • Privacy Policy
    • Site Terms and Conditions of Use
  • Advertise
  • Contact
  • Join

Guest Contributor

Creating the Balance in Life and Business

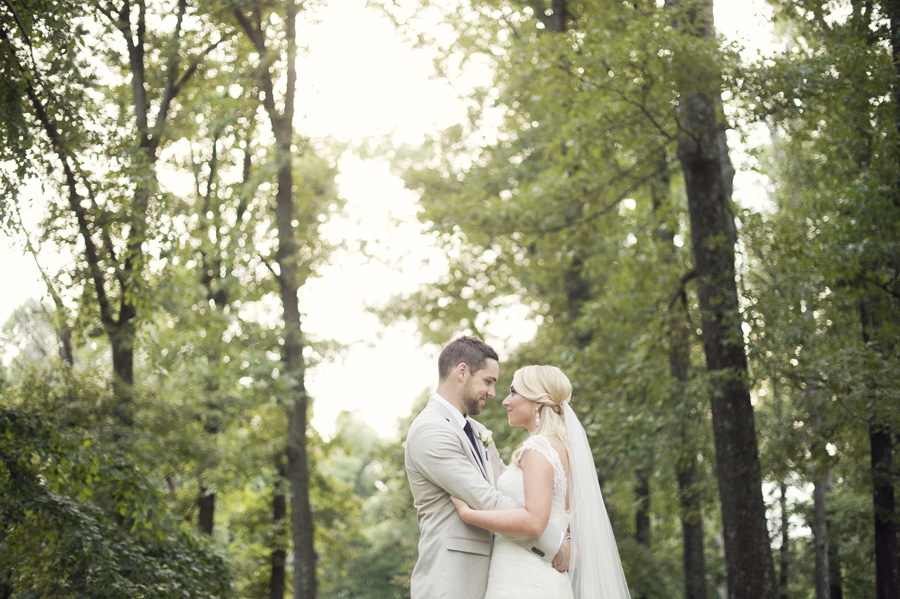
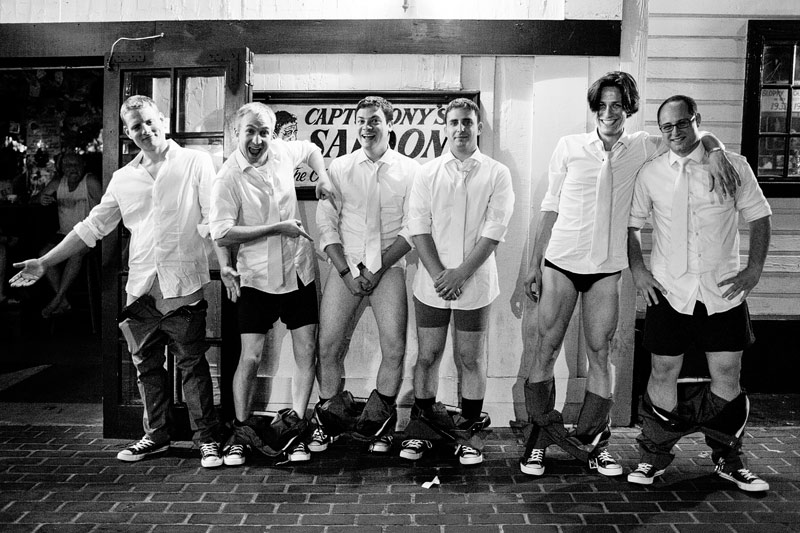
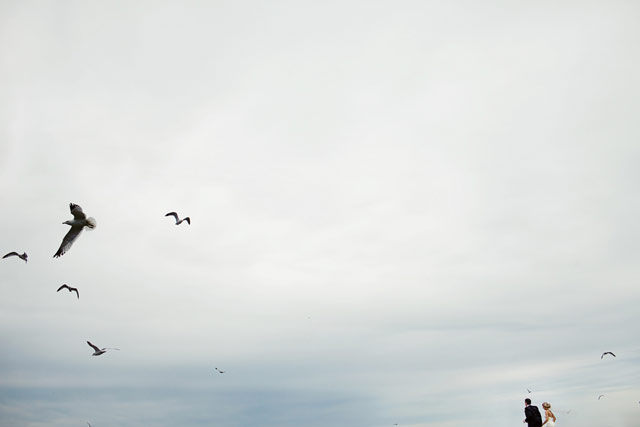
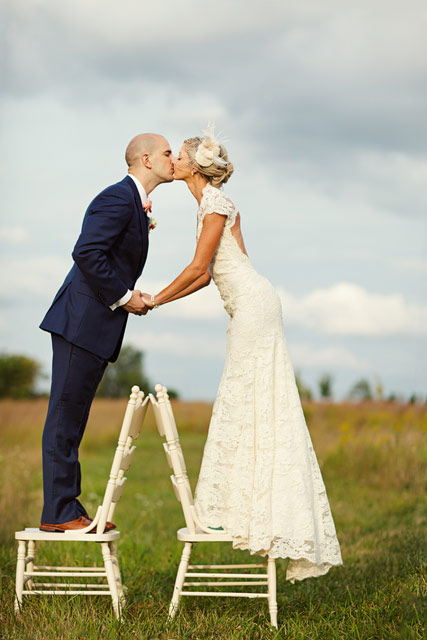
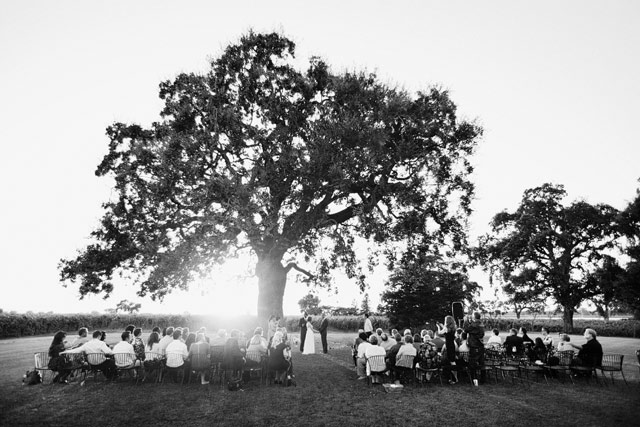
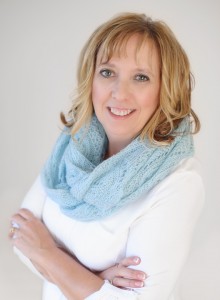
by guest contributor Stephanie Reeder 

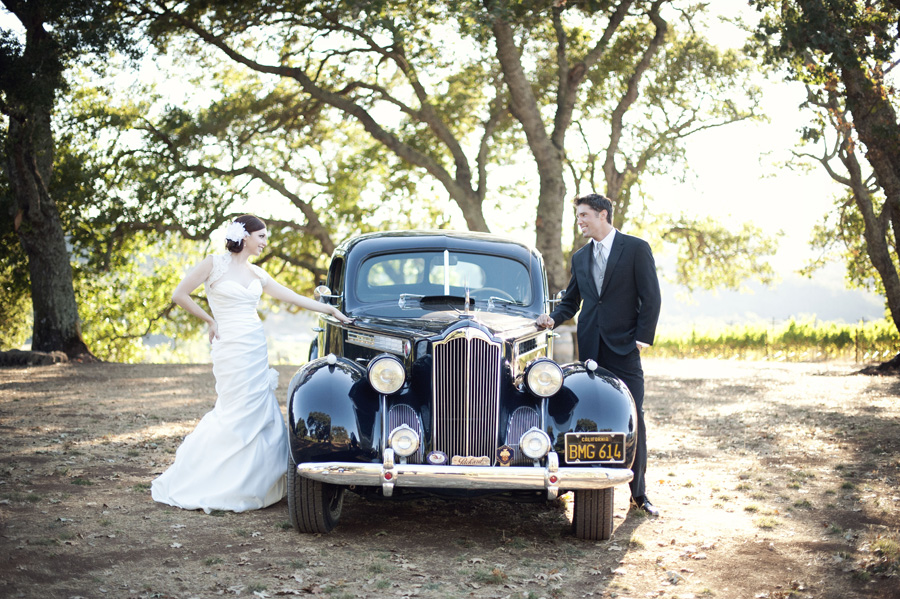
If I were to look back on my seven years in business, I would say that I’ve been blessed to be where I am today. I would however say in the same breathe that is was not at all easy to get here. It took a lot of dedication, sweat, and tears. It was definitely a journey that I look back on now and say it’s because of the way I chose to look at my business that I am who I am today.

Now, lets look at these last seven years and see what has happen during my path of business that has shaped me to be the business owner I am today. I am now a mother of three little ones. Austin who is six, full of life, and personality and also a set of two year old twins Natalie and Owen. These two were my big surprise, but I could never see my life without them. Not only am I am mother of three, but I am also a wife, homemaker, and full time business owner. Some may look at my life and say how in the world do you balance it all.

Let me share this journey with you and share some of my secrets to balancing both life and business together. Two years ago was a huge turning point in my business. Before this moment I thought I had it all figured out. I had my clients, my business plan in place, and could handle the work load in front of me. It wasn’t until I got the news that shocked my world. I received the news on January 3, 2013 that my father was diagnosed with terminal stage four lung cancer. This was a huge hit to the knees because it was on the tail end of my pregnancy with my twins and I was unable to travel home to be by his side. Ten days later, I gave birth to my little ones who would spend two long weeks in the NICU. Thankfully this all took place during January which as a wedding photographer is my down time. Looking forward to 2013, I was now left with my world shattered and a plate full with two new babies and a deathly ill father. During this time, I was also juggling my clients, business, and bookings. It was in this moment that I had to make some changes and I did.

I could no longer be in many places at once, so I decided to step back and realize what was most important. I knew two things were on the top of my list and that was my family and business. Family coming first I decided to step away from my computer every evening at 6pm. This was a way for me to shut my brain down and spend the quality time with my family. When wedding season kicked into full gear I had to delegate my business in such a way that I didn’t get burnt out or lack on my customer service. During the six month period of my fathers battle with cancer I decided I would out source my editing to ensure my processing was done in a timely manner and that my clients were receiving a consistent product. I also lightened my load with blogging and marketing so that I could ensure that my time was spent with the people who were most important. During this entire time I learned a valuable lesson on how much I could really do as one person in business. Now to fast forward my business is now streamlined to balance my family and business together.

Here are 10 tips to creating balance in your life:

1) Run your business like any other and have business hours that you will return emails, phone calls etc. My hours of business are M-F 10am-6:00pm. Saturdays are normally filled by eight hour wedding days and Sundays are either spent with my family or shooting an engagement session.

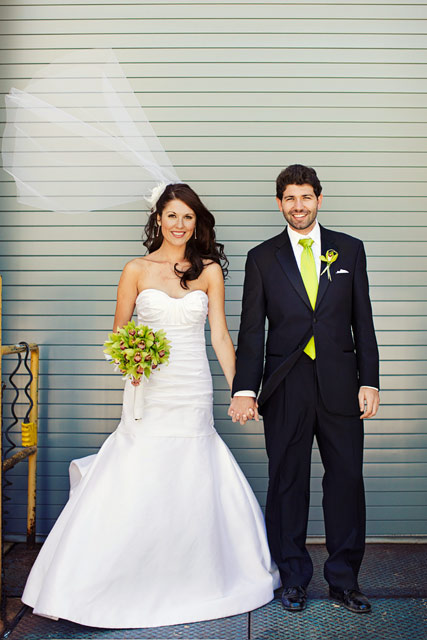
2) Choose one or two areas at the most you want to photograph and focus solely on those. I use to do it all, but now I only shoot weddings and engagements because that’s what I love to do the most.

3) Make a calendar and stick to it. If you decide your going to edit on Mondays and Wednesdays, then make the efforts to only edit on those days and then focus on the other days in another aspect of your business.

4) Delegate your business accordingly. It’s ok to say I can’t do it all. In my time of need, I had to pass my editing off to someone I trusted could get the job done. Now that my life is back in order, I am able to take on my editing. But don’t be ashamed to say I need help!

5) Create boundaries and learn to say No. Do I want to shoot 50 weddings a year, Yes, but is that practical for me to so, NO. I make a limit to only take on 30 weddings a year because I know that’s what I can handle without compromising my family life at home.

6) Make a plan (to do list) for the day/ week. I find if I don’t make a list of things to accomplish for the day, I get lost in Facebook, and pinterest. It’s so easy now a days to get distracted. Make a plan and be productive with your time so that your not stressed out later.

7) Treat your business like any other aspect of your life and be dedicated to it.

8) Continue to be inspired. I find a lot of times that I get wrapped up in family, business, and life in general and it becomes dull. I try to always find time to be inspired. Whether if its having lunch with another photographer, participating in a workshop or online forum. I find that if I can keep the fire going, I am more willing to be productive with my business.

9) Don’t ever stop dreaming! Just because I am a mom, doesn’t mean i have to completely put aside what makes me happy. Photography is a huge part of who I am and with the comes my dreams and goals in life. Trust me, your children will see your hard work and dedication. They will later appreciate seeing you in this light.

10) Last but never the least, make it a priority to look at your life and business and see the important of balance. Balance is the key to a successful business. Without it, you’ll get lost, overwhelmed, and eventually burnt out. It’s ok to step back if you need a break and move forward when your ready.

Overall know that business doesn’t come on it’s own. It takes time, dedications, and yes many years of hard sweat and tears. Always be true to yourself and know the importance that balance will make in the end!
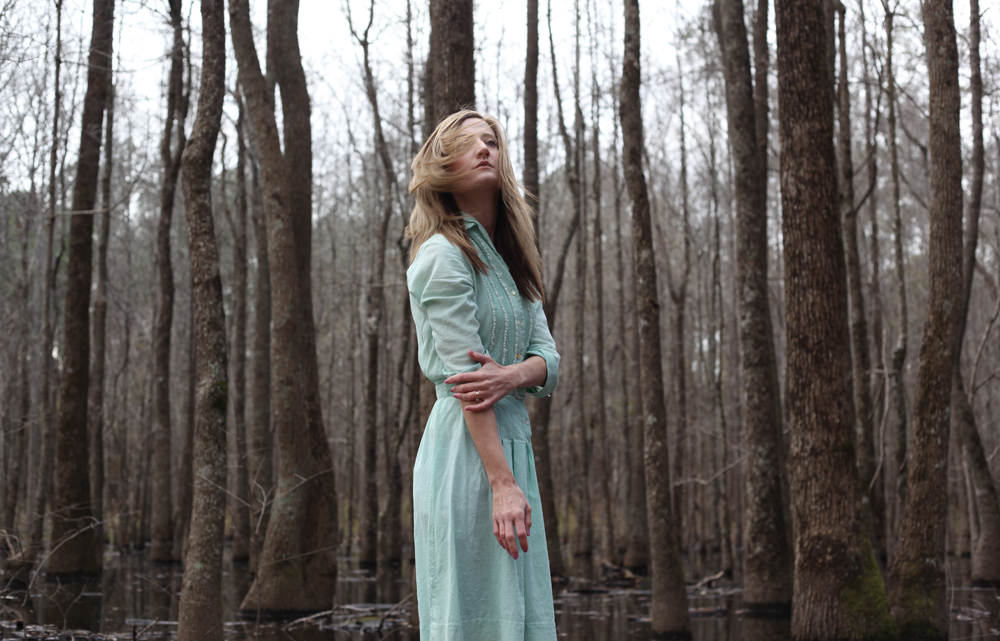
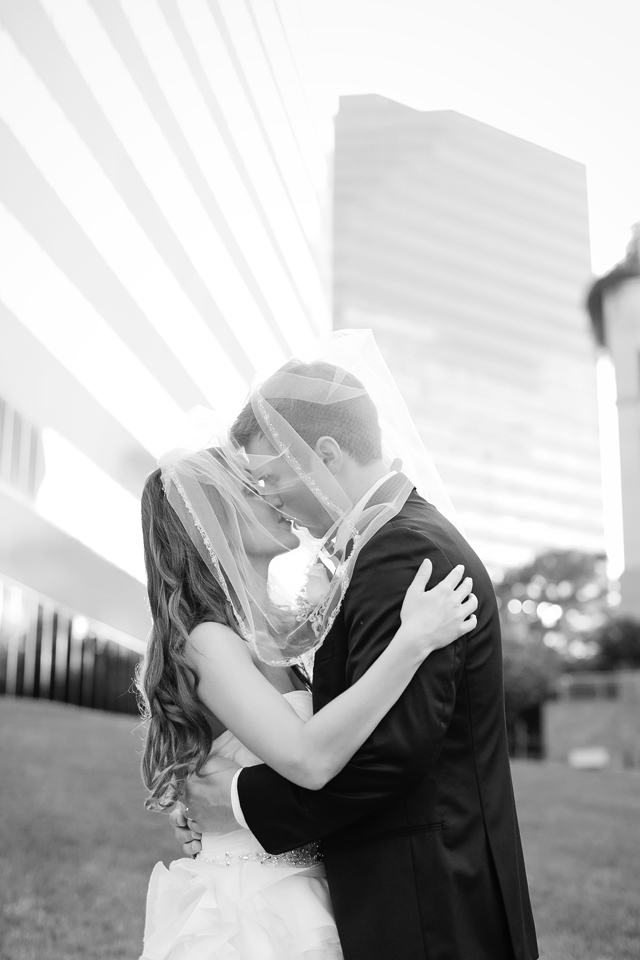
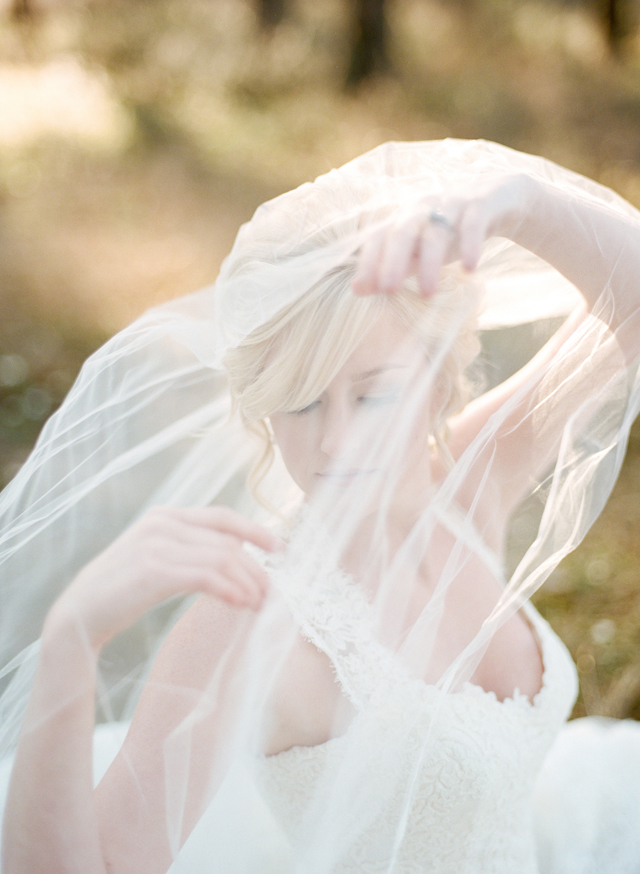
blog_separator

About Stephanie: I am a mother to one amazing little boy (He is my life!) I am a wife, sister, daughter, and friend I am in love with emotions, light, and all things beautiful I am fun, outgoing, real, and optimistic I dream of the future, but always live in the moment Finally I love who I am and will always be me!

Visit Stephanie at her WEBSITE | BLOG | FACEBOOK


Tweet


Leave a Comment

Guest Contributor Post-Processing

Levels in Photoshop: Using the Dropper Tool

by guest contributor Anna Gay

When it comes to initial editing in Photoshop, adjusting Levels is a great place to start. By adjusting levels, you can correct your shadows, midtones and highlights, as well as increasing or decreasing the overall contrast.

You can manually adjust the sliders in your Levels adjustment panel, but Photoshop also has a handy dropper tool option that will adjust the levels semi-automatically.

Looking at this image, you can see that it is a bit washed out, and lacking contrast. To adjust the Levels, select Image>Adjustments>Levels, and then you will see this screen:

As you can see from looking at the histogram, we have an area of completely white highlights, represented on the far right of our histogram.


For printing, completely white highlights pose a bit of a problem. When an image with solid white goes through a printer, no ink will be put down in the areas that are white, which, if you are using a paper with any type of sheen to it (glossy, pearl, luster, etc.) the white areas with no ink will look patchy in your final print, so, if you are printing, the goal will be to reduce the amount of solid white in the highlights.

On the right side of the Levels dialogue box, you will find your dropper tools for 1) shadows 2) midtones and 3) highlights. Double click on the shadows dropper (1) and the following will appear:

Photoshop automatically sets the shadows to solid black. However, we want our shadows to retain some detail and not be solid black, so, instead of having a 0 in the boxes labled R G B, type in the number 5 for each of the three boxes.

For the midtones (double clicking the 2 dropper), we want a neutral gray, so the color that Photoshop selects is perfect here, no need to change the values.

As I mentioned earlier, for our highlights (dropper 3), we do not want solid white, but instead, just a tiny bit of color. A value of 240 for the R G B boxes will do the trick for this image.

If you close your Levels adjustments, you will see the following message:

Photoshop gives you the option to save the colors you have selected, which is totally up to you. I generally allow Photoshop to save the target colors as my default to save time in future editing with the dropper tools.

Next, double click on the shadows dropper (1) and hover over your image with the dropper tool in an area that contains shadows, then click once. Do the same with the midtones (2) and highlights (3) droppers.

As you can see here, the adjustments we made were minimal in terms of number values inserted into the R G B boxes, but there is a good bit of difference, especially in contrast, between the before and after images. The after image is much richer than the before image.

In addition to the dropper tools, Photoshop also has a set of automatic level adjustments that will help you achieve various tonal effects, so be sure to experiment with those, as well:

blog_separator

About the Author: Anna Gay is a portrait photographer based in Athens, GA and the author of the dPS ebook The Art of Self-Portraiture. She also designs actions and textures for Photoshop. When she is not shooting or writing, she enjoys spending time with her husband, and their two cats, Elphie and Fat Cat.


Tweet


Leave a Comment

Photographer Spotlight

Photographer Spotlight: Jenny Cruger

Ready to meet the fabulous Jenny Cruger today? She has the most creamy and beautiful babies and bellies! Make sure to visit her website Jenny Cruger Photography and leave some love for her below!

Where did your inspiration for photography begin?
I started in high school with black and white film about 14 years ago, but like many moms it really came when I had my first baby. I was really motivated to take good pictures of him and get back into photography (digital this time).

How would you describe your photography style?
Simple, pure, organic, neutral. Gorgeous light, soft tones, and sweet emotional connections are all extremely important to me when photographing a session.

Did you study photography in school or are you self taught?
Mainly self-taught with the exception of my high school photography classes.

What camera do you shoot with and what is your favorite lens?
I shoot with a Canon 5D Mark III (Mark II for back up) and my favorite lens is my 135L outside, but I use mainly my 50L and 100L inside the studio for newborns and babies. I have a 35L, 85L, and 200L as well and they’re like children; I love them all for different reasons.

Do you have any tips for photographers on how to find the light?
Watch your angles and how the light is falling on your subject. You can make it really complicated with lots of math and technical aspects or you can learn to just SEE what looks flattering and what you like. Move your subject or yourself a tiny bit and see how the light falls differently each time. I like to avoid harsh light of any kind so inside the studio I diffuse my windows and outside I shoot only at the very end of the day to have that soft, golden glow.

What is your favorite subject to photograph and why?
Mamas and their babies together and newborns. I love the purity, simplicity, and sweet details of newborns and I absolutely adore that bond, those snuggles, and that love between a mother and her child. I think because I can’t take that image for myself of me and my son (and soon to be daughter) and I don’t have any photos of my mom and I when I was young, I really feel those images are so important. Whether it’s a 5 year old and his mom or a 5 day old and mom, I love that connection.

What is a good lesson you have learned this year in photography or in your business?
It’s one I am always learning and trying to stick to; only photograph what I love and can do best.

If you could encourage a new photographer in one area, what would it be?
Business. It’s great to be a well-liked photographer, but if you’re giving your work away for pennies and not building a profitable and sustainable business, you aren’t doing anyone any favors. I would rather see a new photographer give their work away completely free while learning and building up their business so it doesn’t devalue what then they will charge when their skills are there and doesn’t devalue what other photographers charge. No one expects you to give your work away for free “forever”, but starting cheap and trying to build up to what you need is a nightmare.

What do you love most about being a photographer?
I love that I get to make a living doing something I truly love, that I can set my own work hours, take a day off without worrying, and have something that is all mine that I put my blood, sweat, and tears into to contribute to my family.

Where do you see yourself in 5 years?
Hopefully doing more of the same, taking care of my family, and being able to take our kids to some of the places around the United States I’ve always wanted to go!

blog_separator

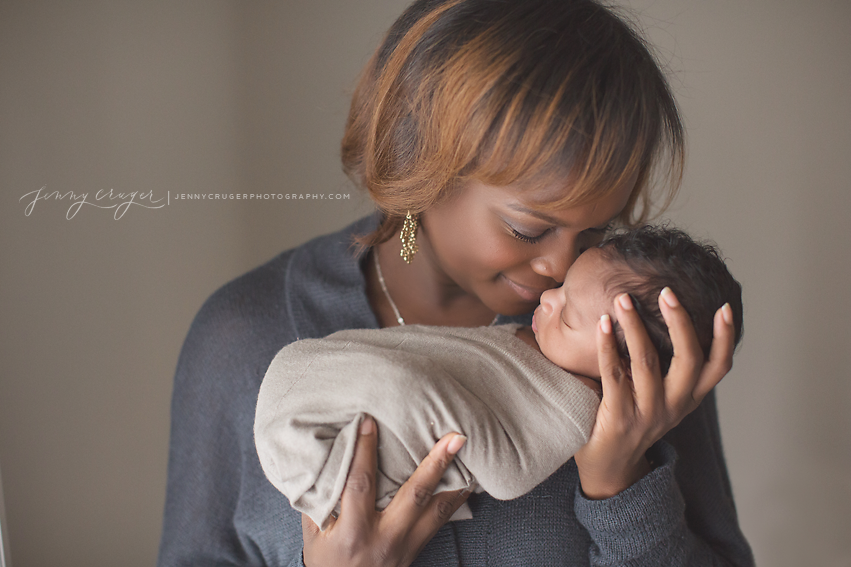
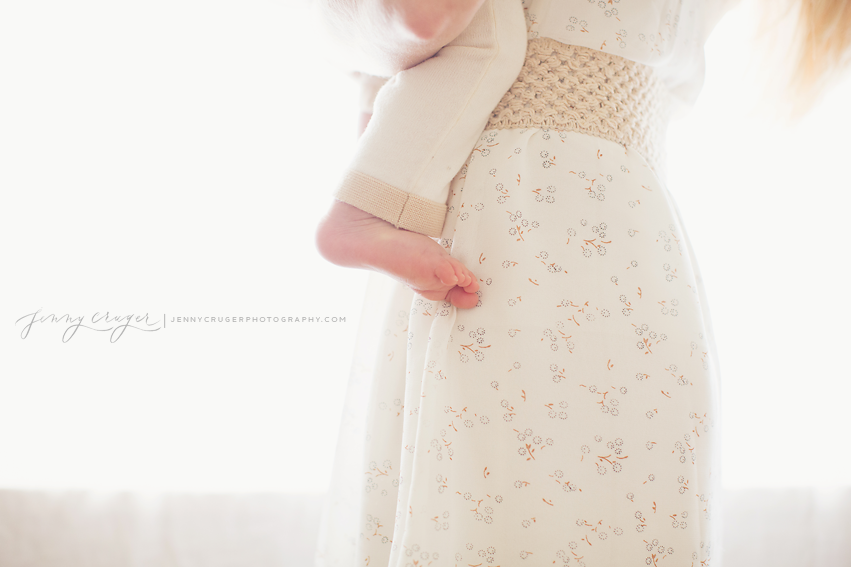
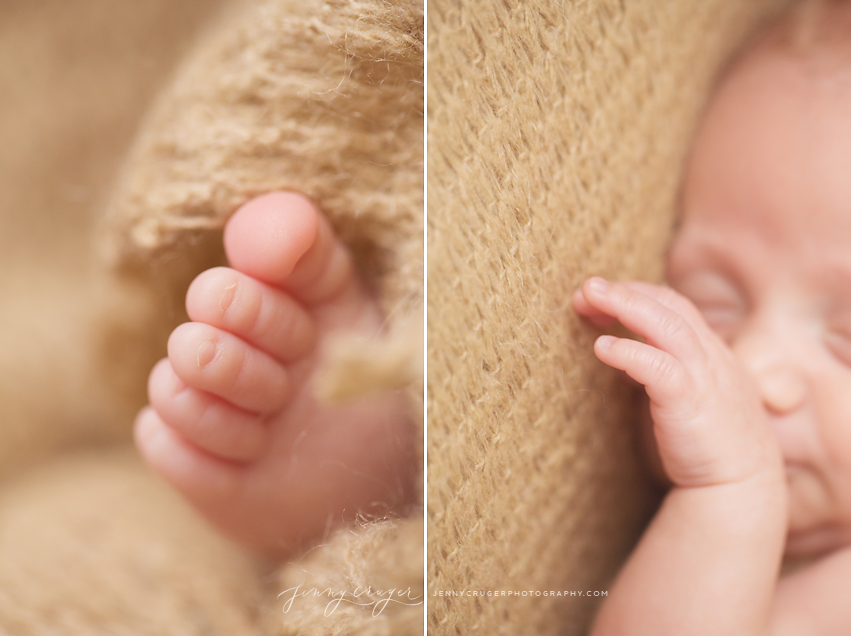
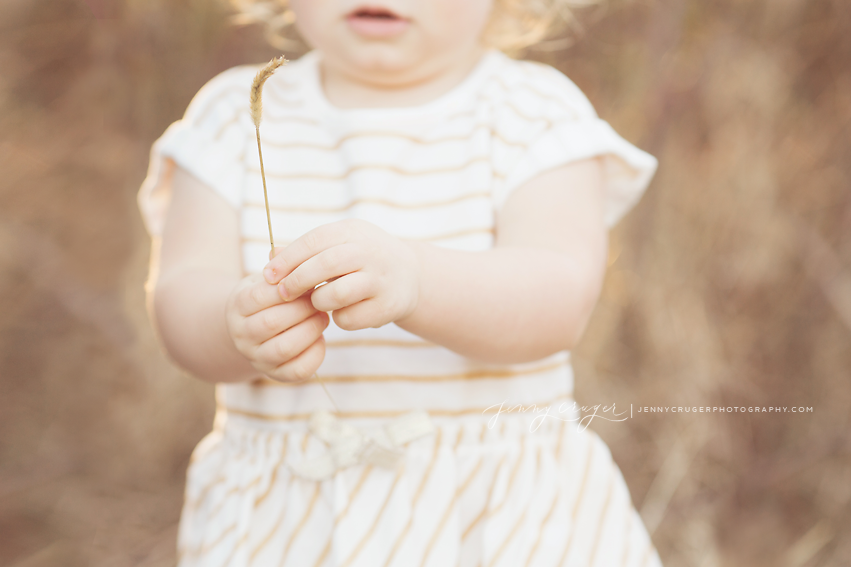
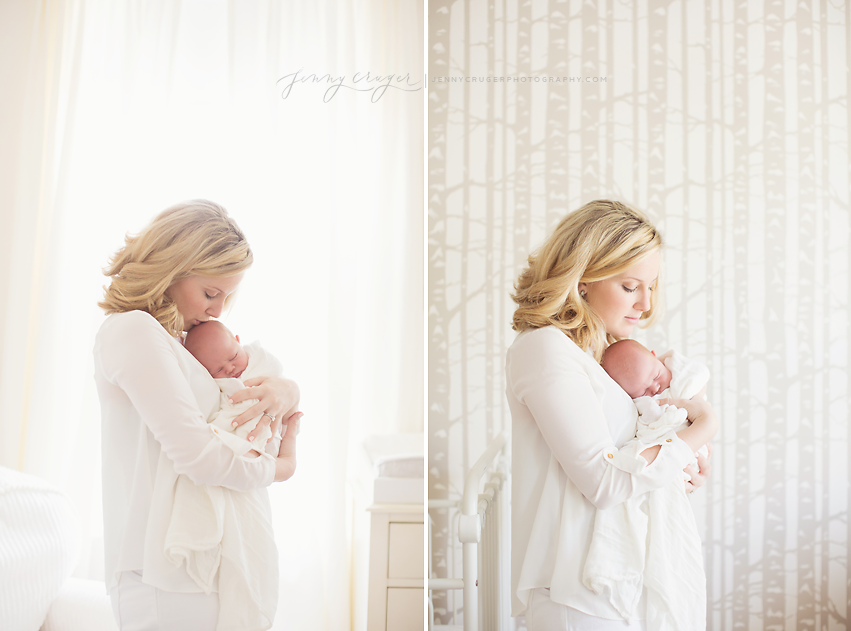
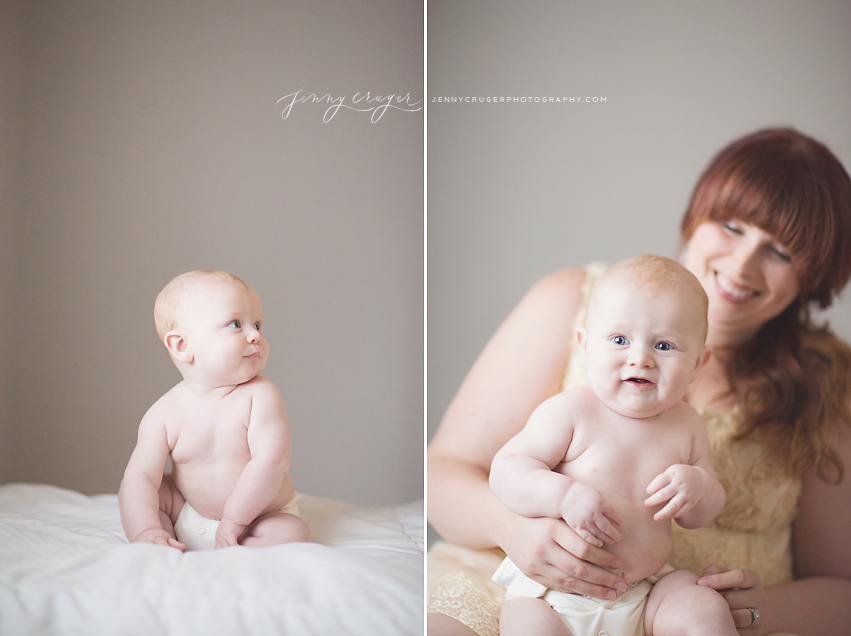
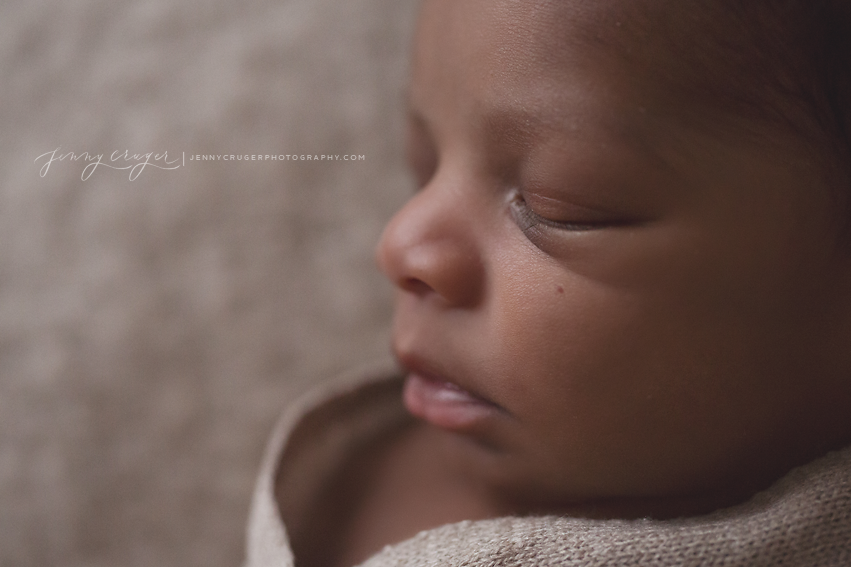
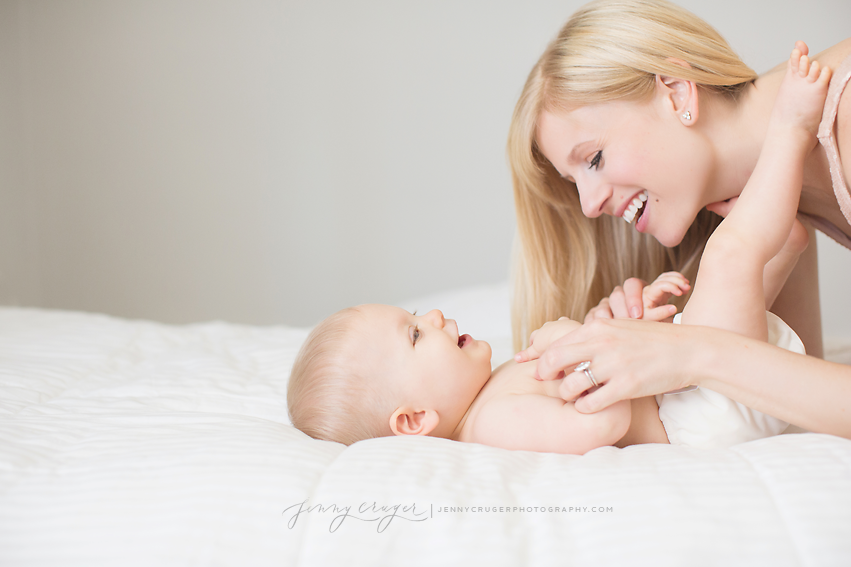
Jenny Cruger finds her own life & style often intertwined with her business with a concentration on raw emotional, natural themes, lovely textures, neutral colors, and beautiful light. She photographs newborns, babies, and bellies in her soft natural light studio in historic Franklin, TN and families and children on location, generally in a random, weed filled location at sunset. Shooting a mix of film and digital, for over 10 years, Jenny enjoys creating not only for her clients, but her own soul and they are often one and the same as well as mentoring other photographers. Jenny lives just South of Nashville, TN with her husband, 4 1/2 year old little boy, baby girl coming in March 2014, 3 dogs, a horse, and is originally from Michigan.

Visit Jenny Cruger at her WEBSITE | FACEBOOK pages today!


Tweet


1 Comment

Guest Contributor

Rocking a Winter Photo Session

by guest contributor Nichole Van

I love shooting in the winter. Most people think I’m crazy when I say that, but it’s true. There’s just something magical about winter that makes everything softer and cleaner. As soon as the leaves fall and the snow arrives, I can’t wait to get outside and shoot.

So in no particular order, here some of my reasons why I love to winter photosessions:

  1. Winter sessions are short. Surprisingly, clients never have an endless list of extra requests. We create a game plan, shoot it quickly and then pass around the hot chocolate to warm back up. I love the no-nonsense, let’s-get-this-done attitude of winter shoots. It makes them remarkably productive.
  2. Light, light, light. Winter is all about amazing natural light. The sun sits lower in the sky, so you have pretty light earlier and longer. And if you have snow on the ground, wow! Shooting in snow is like shooting in a white box. Light bounces everywhere, giving you huge catchlights and beautiful skin.
  3. Along with the light, color is better. There is no green (or at least less of it) to create funky color casts and the softer light makes for better white balance.
  4. When it comes to composition, winter is all about simplicity. In northern locations, snow and bare trees keep backgrounds clean, making it easy to isolate and pop a subject off the scenery. Along with this, color in clothing becomes more enjoyable and fun, allowing me to pull off color palettes that don’t work in summer.
  5. And with that, I find winter styling to be so much easier. No need to do hair, just hide it under a cute hat. Add boots, a coat and a colorful scarf and you’re good to go. No need to stress over endless layers, or to-skirt-or-not-to-skirt, or “do these jeans give me a muffin top?” worries. It’s all hidden under a cute coat and scarf. I have literally been known to throw a long coat or cloak over my children’s pajamas (that they refused to change, of course) and head outside for a quick session.

There is so much to love about shooting in the cold. However, when approaching a winter shoot, I’ve learned over the years a few things to help them run more smoothly. So here are my winter photosession tips:

  1. Winter photosessions need a game plan. You don’t want clients to be shivering in the cold while you mess with lens selection and metering. Usually, it’s best to start with headshots, before noses get too red. Have a basic plan in your head to keep the session moving quickly.
  2. If there are children involved in the shoot, come prepared with blankets and coats. Keep clients in a building or warm car until you are ready to shoot. From there, bring out everyone but still keep them wrapped up until the last possible second. Then shed coats, shoot fast and bundle back up. Rinse and repeat for the next set of images.
  3. With gear, make sure your camera battery is fully charged. Cold weather will sap your battery power more quickly.
  4. Additionally, below about 15F (-10C), lenses may not focus as well. I’ve found that some of my lenses are fine and others really struggle to create a sharp image. Take some test shots to make sure your lenses can focus properly, or at least to know which ones you want to avoid.
  5. Also, lenses fog more readily in cold weather, particularly if humidity is high. Moving quickly between a warm building and outside (and vice versa) will cause your lenses to mist over. I find it best to ‘acclimate’ my lenses to the cold by leaving them in my car trunk for an hour or so before the shoot.
  6. If there is snow on the ground, bring a bath towel. Kneeling in the snow can turn painfully cold very quickly, but a folded towel will cut most of the chill.
  7. Bring a sled to cart your gear and/or clients through the snow. Along these same lines, have a good pair of snow boots for yourself.

And the best reason of all for shooting in winter: after the chaos of fall, I finally have time to actually sit back and enjoy being a photographer again. Happy Shooting!

blog_separator

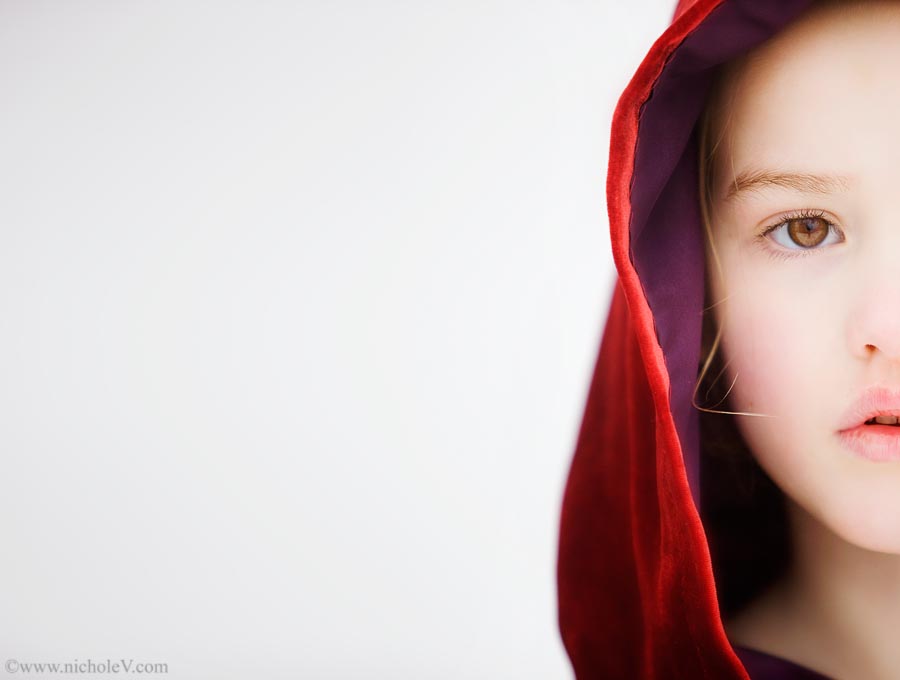
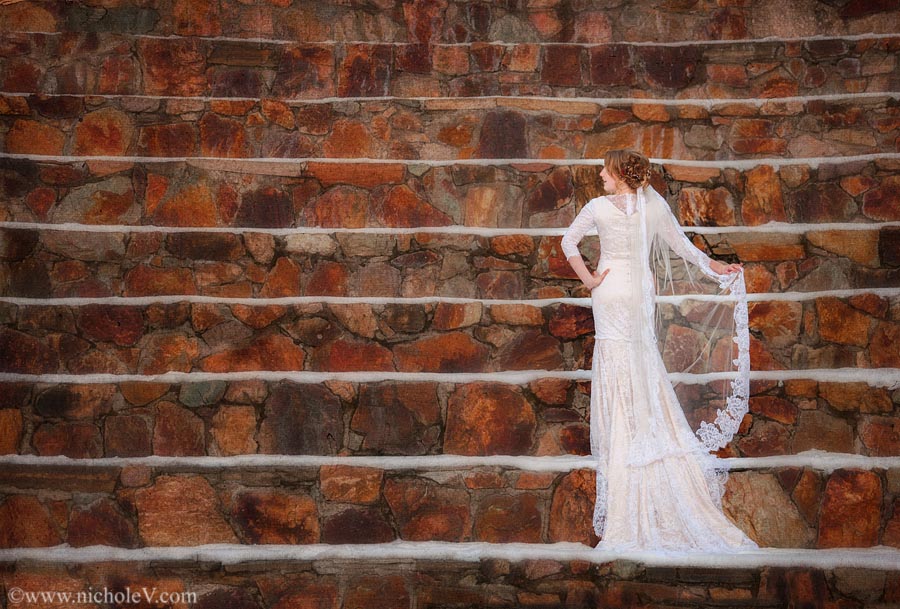
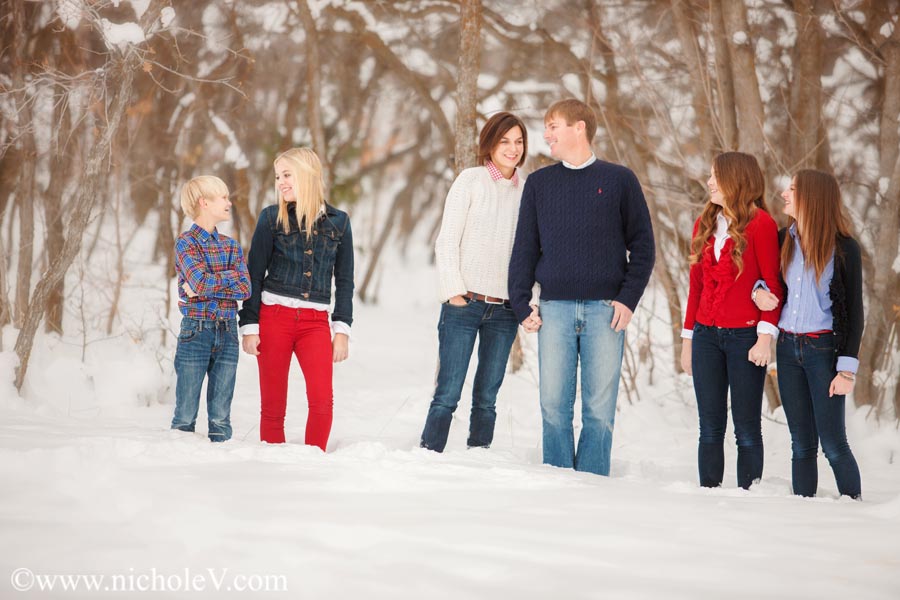
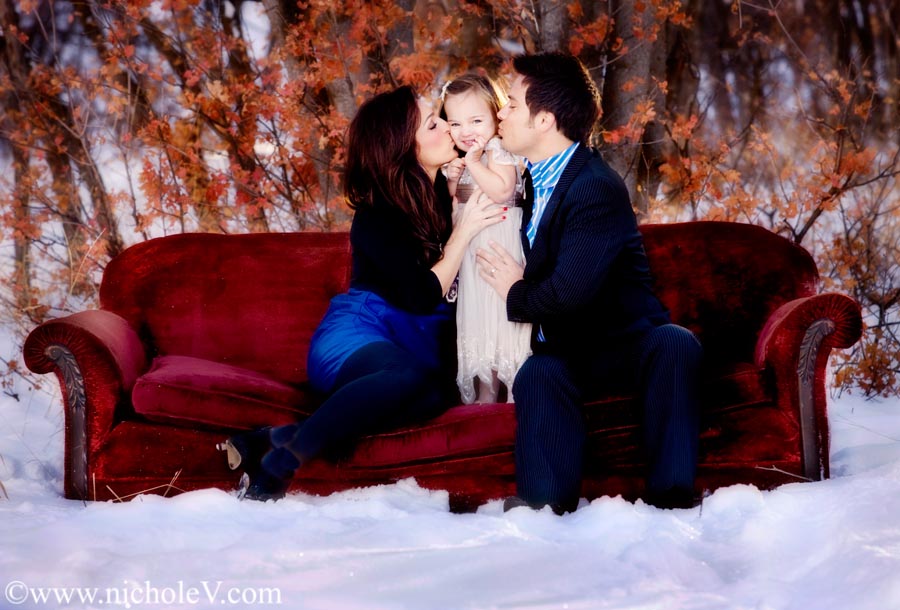
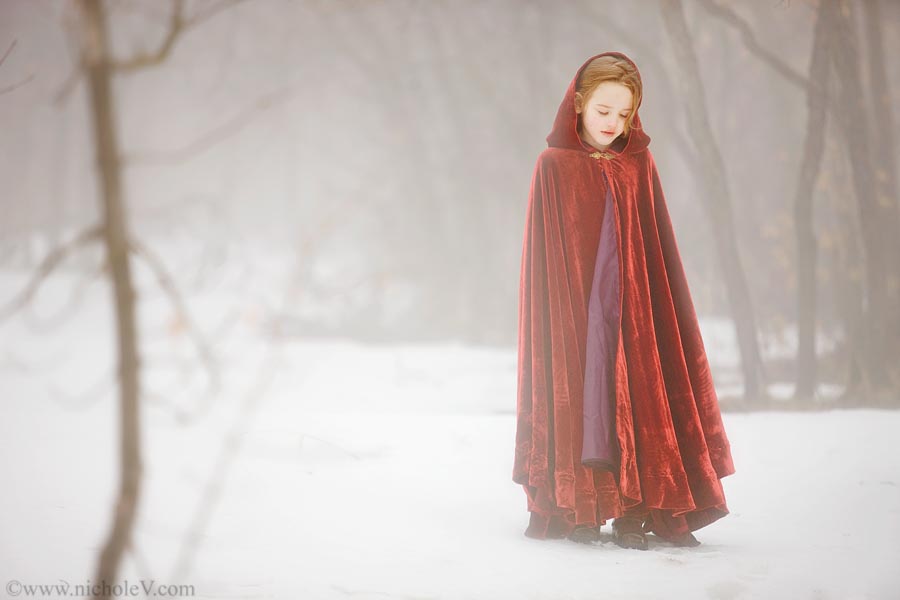
 About the Artist: Based in Utah, USA, Nichole Van specializes in turning everyday life into art. Nichole loves expressing the unique beauty of every client, creating artistic images that make people gasp when they see them. Nichole has won numerous international awards, including portrait of the year from WPPI, as well as being a finalist for Grand Imaging Awards from PPA. She has also been featured in Rangefinder and Professional Photographermagazine, as well as numerous local and online publications. Nichole provides instruction to other professional photographers and has presented classes at WPPI’s international convention, as well as IPPA. Nichole currently holds an Accolade of Photographic Mastery from WPPI.

Visit Nichole on her GALLERY | WEBSITE | FACEBOOK


Tweet


Leave a Comment

Photographer Spotlight

Photographer Spotlight: Smitten Imagery

We are so excited to introduce you to the talented Brittney Zambrowicz of Smitten Imagery. Her soft tones and light kissed images have us smitten!  Thank you so much Brittney for sharing your work with us today!

Where did your inspiration for photography begin?

Slumped in a desk during a class break in college, I began browsing blogs when a portrait by Jose Villa caught my eye. It was a simple image of an honest moment, yet life looked dreamy paused on a frame of film in the glow of sunset. In awe, I soon began following the work of many incredible photographers. Somehow, these artists saw light in an extraordinary way, capturing life like a fairytale. I became taken with the world of photography and dreamed of using light to document simple moments magically.

How would you describe your photography style?
Genuine, simple, crisp and sun-soaked

Did you study photography in school or are you self taught?

Becoming a professional photographer wasn’t always my career plan. When I was five, I boldly told my Kindergarten class I wanted to be a kitten when I grew up. Ambitious. I graduated from college a pre-medicine psychology major years later. During my senior year, I became more captivated with photography than anything I had ever studied and easily decided my future profession would involve a camera around my neck.

Books, online resources and excessive practice helped me learn the craft. I read through my camera manual so many times that it now looks like a historical artifact.

Do you shoot Canon or Nikon, and what is your favorite lens?
I’m a happy user of Canon equipment and shoot almost all of my work using my 50mm 1.2.

Do you have any tips for photographers on how to find the light?

Slow down; when you’re inspired while shooting, it’s easy to start photographing in a frenzy. Consider how the light lays on your subject’s face before tapping your shutter button. Unless you’re using shadows stylistically, flattering light will be even and radiant on the face of your subject.

In photographs, background bokeh sprinkled with a sunny glow always catches my eye. My favorite light is usually found in open shade in front of barriers (trees, walls, fences, or buildings) that shield my subject from harsh posterior sunlight. I rarely backlight my subjects directly, with nothing behind them to diffuse intense light.

What is the most challenging thing about photographing seniors?

Short hems and high heels make photographing senior girls difficult, as many poses can easily turn age-inappropriate. To encourage a more conservative look, I advise clients to wear clothes they can easily and confidently sit, walk and otherwise move around in.

What is a good lesson you have learned this year in photography or in your business?

Fast forward to my next response for something I always try to remember ☺

If you could encourage a new photographer in one area, what would it be?

Midway through my first year in business, I found myself scrolling through my Facebook newsfeed seeing post after post of breathtaking images. I remember grumbling to myself. Why doesn’t my work look like that? Will my work ever look like that? Once my source of inspiration for learning to use a camera, following the work of other photographers was making me anxious, self critical and uncertain of my future in business.

Though it’s tempting to bash your work in comparison to photography of others, make your best effort to focus on learning. Rather than criticize your shooting style, grab your camera and a friend for a spontaneous photography outing. Personal shooting is a pressure-free way to hone your skills through experience, develop a personal style and try out new techniques. If you’re concerned you’ve been over-editing your images, open up Lightroom and practice different post processing techniques until you have a headache.

Every goal looks daunting if you don’t face it one step at a time. Never idly dwell in self-doubt. Instead, make a relentless effort to refine your skills and you will gradually evolve as an artist.

What do you love most about being a photographer?

Photography transforms the way you see life and light; the mundane is breathtaking and the ordinary is remarkable.

Where do you see yourself in 5 years?

Happy and starting my 7th year of business as a portrait photographer

blog_separator

About Brittney Zambrowicz: Brittney Zambrowicz is a Texas-based photographer who specializes in creating simple, honest portraits full of light.  A lover of candid moments and emotion, she believes in the awe-inspiring beauty of everyday life.

WEBSITE | FACEBOOK

Tweet


1 Comment

Guest Contributor Post-Processing

Texture Basics

by guest contributor Anna Gay

If you are new to editing with textures, but aren’t sure where to start, here are a few tips to get you going.

First, you are going to need a program like Photoshop (Elements or Creative Suite) that will allow you to overlay images on top of one another.

The ways in which you can incorporate textures into your workflow are many and varied, so for this tutorial, we will just look at two basic hues – warm and cool, and a some of the different blending modes in Photoshop such as Overlay, Soft Light, Vivid Light and Multiply.

Hue

Using textures is a way to edit the hue of your image. If you would like to warm up the image, use a texture with a warm hue. The same thing goes if you would like a cooler hue – use a texture with a cool hue.

Warm Texture:

Cool Texture:

Tonal Range

You will often notice textures that have been created specifically for overlaying on top of images will have a bright center with darker edges. With this type of texture, you can brighten the tones at the center of your image, which will draw the focus to your subject and add a natural-looking vignette to the edges of your image.

Artifacts

I like to refer to the spots and scratches in textures as “artifacts.” Some textures have more artifacts than others, but using textures will a lot of artifacts is a good way to give your images a distressed look.

Editing

Let’s look at a few different ways you can edit using these texture examples. Here is the image before being edited:

Using the Move tool in your right-hand toolbar, drag and drop the texture onto the image you would like to edit. Next, you can use your mouse to move/stretch the texture until it fits the size of your image:

You should now have a Background layer (your original image) and a Layer 1 (your texture)

Blending Mode – Overlay 

Next, let’s set the Blending Mode to Overlay. Usually, at full, 100% Opacity, textures will be a bit too strong, so you will need to reduce the Opacity until you are satisfied. For this image, my Opacity is set to 70%.

Overlay is a popular Blending Mode, as it will add contrast and depth to your image.

Blending Mode – Soft Light

Now, let’s take the same steps we did above with the warmer texture, but this time using a cooler texture.

Let’s try Soft Light as our Blending Mode, as it is similar to Overlay, except that it doesn’t have quite the same level of intensity in the contrast. For this image, I reduced the Opacity to 90%, resulting in a hazy, cool effect:

Blending Mode – Vivid Light & Multiply

Let’s say you want to go all-out with your textures, so let’s try using a texture with a lot of specks/scratches to really distress the image.

This time, I set the Blending Mode to Vivid Light, but needed to reduce the Opacity all the way to 40%. Vivid Light both brightened the image, and added quite a bit of texture.

If you want to darken your image for a really moody and distressed look, experiment with Multiply as your Blending Mode, as this mode will darken your image.

This was a crash-course in the absolute basics of textures. Just for a visual reference, here are all of the different Blending Modes we used, so you can do a side-by-side comparison:

Like I said at the beginning, there are endless ways to use textures, and these are just a few examples, so be sure to play around until you find a way of editing with textures that suits your style – that’s half the fun!

All images and textures are © Anna Gay. Please do not download without permission.

blog_separator

About the Author: Anna Gay is a portrait photographer based in Athens, GA and the author of the dPS ebook The Art of Self-Portraiture. She also designs actions and textures for Photoshop. When she is not shooting or writing, she enjoys spending time with her husband, and their two cats, Elphie and Fat Cat.


Tweet


Leave a Comment

Guest Contributor Post-Processing

Removing Red Hands and Feet from Newborns

by Guest Contributor Veronica Gillas

Newborn photography comes with its challenges, but getting harsh red tones out of images seems to be a particularly challenging task for some photographers.  The trouble is that a brand new baby’s circulatory system isn’t developed yet, so getting blood flow to their extremities is a bit daunting for their little bodies.  All that to say, letting a baby lay on their hand while you’re posing them can mean that you’re going to end up with a pretty bright red or purple looking arm.

Long ago and far away, I used actions to get the reds and purples out of newborns hands and feet.  I was never 100% happy with the finished product though.  However, since having learned how to edit by hand, I found a trick that lets me pull the red out and adjust until I am in love with the result.  If you want to make your life easier, you can even create your own action using these steps and then adjust to taste.

Here’s my SOOC image (isn’t he just the cutest little thing you’ve ever seen??).  Take note of little man’s hands and his feet.  His feet being tucked under his bum turned his foot red.

I have a few base adjustments that I apply to almost all of my newborn images.  I use hue/saturation layers to pull some of the red and yellow out of the image first.  As you can see, his foot and hands look a bit better, but they still need some work.

So, let’s select our lasso tool and loosely (it doesn’t have to be perfect) select his little foot.  Then create a selective color adjustments layer and you’ll get a little popup window.  By default, you’ll be working with reds, which is good because that’s the color we are trying to correct.  You’ll see four sliders:  cyan, magenta, yellow and black.  I rarely slide the yellow one around, but if the foot is really purple, I’ll have to take out some of the cyan.  For this particular image, I pulled out a bit of cyan (the base of his foot is purple), magenta and a touch of black.  Then I do the same to his little hands.

Here’s my resulting image.  Almost done!

Now doesn’t that look better?  A few finishing touches, add my watermark and we are all set.

Gorgeous!

I am often asked what I use to make baby’s skin look so smooth and I do run Portraiture (at 50%) on all of my newborns.  For flaky skin, blemishes and blotchies, I just use my handy dandy clone tool.  You can also apply this technique to other color casts, not just red ones.  Incredibly helpful for greens, too! Happy editing!

blog_separator

About the Author: I am a natural and studio light photographer based out of Portland, Oregon.  I specialize in the portraiture of newborns, families and children.  I love playing ring around the rosy with our 6-year-old, re-enacting the epic light saber battle between Darth and Luke with our 9-year-old, and napping with our 8-month-old.

WEBSITE | BLOG | FACEBOOK


Tweet


4 Comments

Business & Marketing Guest Contributor

Tracking Business Finances: Just do it!

 by guest contributor Shannan Painter

We all brush our teeth, eat our vegetables and do the dishes. Why? Not necessarily because we enjoy it, but because there would be serious consequences if we neglected our bodies or our houses. Neglecting the accounting and tax portions of your business could also result in serious consequences, and yet I constantly come across people that stick their heads in the sand and wait until the mess is so big, it has to be dealt with. In their defense, many photographers are simply not well-informed when it comes to what the government requires in regards to bookkeeping. Whether that lack of information is due to not having any formal business background or not knowing where to look for it, no excuse will get you off the hook if you ever get audited!

There are a couple very simple steps you can take to ensure that not only are you in compliance with government requirements, but in addition, that you understand your business finances.

Establish a routine
The government requires you to keep a set of books for your business – but the records themselves are not enough proof for deductions. You have to keep receipts, invoices and other documents to support your purchases (always make sure to ask for a receipt).  What do you do with these receipts?

  • My routine is to keep each receipt in my wallet.
  • Once my wallet gets full, I post each transaction to my profit & loss spreadsheet.
  • After each transaction is posted, I file the receipts into an accordion file sorted by month. They are readily and easily accessible if I need to go back and find one. More importantly, I have the documentation to support my business deductions. Records must be kept for a minimum of two years.

Educate yourself
You don’t need to be a CPA, have an MBA or any letters after your name for that matter, but you do need to understand the basic principles of tax consequences. For example, you need to know that you will likely have to pay self-employment tax, depending upon how your business is organized, on any profits you make. Our Business 101: Setting Up Shop e-Guide is an excellent resource to gaining a basic understanding of financial organization, business deductions, and tax consequences specifically for photographers.

SAVE 50% off any of these fantastic business tools from Photographer Depot that will help you keep track of your income and expenses, and save you time and money (expires January 12th, 2014)

Snapshot Easy to use Spreadsheet for Photographers

Mileage Tracker

Deductions Guide

Business Bundle

Business 101:  Setting Up Shop e-Guide

blog_separator

About the Author: Shannan Painter is a newbie photographer who has spent the last 5 years working with the left side of her brain helping small businesses organize their accounting and taxes. She decided to take the big step and pursue her dream of becoming a professional photographer in 2013 after adding a third boy to her house that was already full of super heroes, trucks, and sports equipment. She and her husband, who is a local TV meteorologist, play pick-up games of basketball in their free time and like to take road trips to Lake Minnetonka with all 3 boys, and their dog Growler.  

Visit Shannan at her WEBSITE | FACEBOOK page today


Tweet


5 Comments

Photographer Spotlight

Photographer Spotlight: Bobbi + Mike

Anytime a couple can work together successfully, you know something magical will happen. That magic today is Bobbi + Mike. This dynamic duo is breathtaking with what they create as a pair!  Learn more about their gorgeous wedding photography in our Photographer Spotlight, and don’t forget to visit them at their website bobbi + mike.  Special thanks to Bobbi and Mike for sharing your work with us today!

Where did your inspiration for photography begin?

We both had a penchant for taking off with our parents’ cameras as kids and burning through the whole roll of film. No one showed us any work as children, I think we were both just naturally drawn to the ability that photography offered to capture people and things.

How would you describe your photography style?

Very simple, naturally lit when possible and always very real. It sounds kind of nebulous, but we want to photograph personalities, not just what someone looks like. To get people to relax and let that personality show through, they need to be comfortable and relaxed. We find it difficult to be spontaneous, engaging, and reassuring to the people being photographed if we’re fiddling with extraneous gear and over-directing.

Did you study photography in school or are you self taught?

While we both took a lot of classes in high school, and Bobbi focused on photojournalism and graphic design in college, we’re both essentially self-taught. Almost all of our classes simply provided us with darkroom resources and minimal oversight.

Do you shoot Canon or Nikon, and what is your favorite lens?

We have had both, but currently use Canon. Choosing a favorite lens is tough because it depends on what we’re trying to do. As I think about our best portraiture work, the largest portion is done with a 35 – it allows us to be in close and block out the rest of the world of distractions to our subjects, with relatively minimal distortion around the edges. The 24 has too much pull and limits us compositionally, especially if we’re in close.

Do you have any tips for photographers on how to find the light?

In general, we’re looking for soft light as we’re not carrying any gear except our cameras. In a big sense, when we’re scouting, we’re mostly looking for areas that will be shaded or will be conducive to back lighting. Front lighting people with direct sunlight is usually quite harsh, unflattering, and can make people squint. More immediately, just walk around your subject when you get to a new spot – be sure of course to tell them that’s what you’re doing though 🙂

What is the most challenging thing about photographing weddings?

That’s another tough one to give a single answer for! As I think about all of the different specific stresses and challenges we face on the day of a wedding (belligerent groomsmen, crappy weather, family/friend drama, etc)…I think the resulting challenge is always the same: how do we “unstress” the people we’re taking portraits of? A technically beautiful portrait of the bride means nothing if she looks pissed off! 🙂

What is a good lesson you have learned this year in photography or in your business?

The big realization we’ve had the last few years is: we can’t care more than you care. If someone’s going to answer non-emergency phone calls throughout their family session, refuses to put it away, and then looks totally distracted and detached in their family portraits…their problem. We’re not losing sleep over it!

If you could encourage a new photographer in one area, what would it be?

It sounds cliche for sure…but be yourself. Being inspired by someone is ok – after all, we’re all sums of our inputs. Just vary those inputs – don’t get hung up on one person’s work and emulate their shooting, processing, branding, style, etc. Forge your own path.

What do you love most about being a photographer?

The best part is knowing that the photos you’re taking…while they’ll be enjoyed now, are going to mean the world to someone in thirty or fifty or hundred years. Look through photos long ago of your parents and grandparents…how does it make you feel? Someone is going to have that same feeling looking at photos of their grandma some day – and you captured those moments 🙂


Where do you see yourself in 5 years?

Pretty close to where we are now – though likely more focused on family sessions. We’ll always love weddings, but I imagine that as we transition to having a family of our own in the coming years, we’ll naturally tend to focus more that direction!

blog_separatorAbout bobbi + mike:  Behind that sexy-ass beard and crazy red hair, you’ll find a a husband and wife photo team who love being in love, photographing love, and being loved. how lovely is that?

Visit Bobbi + Mike at their WEBSITE | FACEBOOK pages today!


Tweet


6 Comments

Photographer Spotlight

Photographer Spotlight : Robin Long

We are so thrilled today to welcome the fabulously talented Robin Long to the Blog! Learn more about Robin and her GORGEOUS Newborn Photography in our Photographer Spotlight, then visit her at her website Robin Long Photography .  Thank you so much Robin for sharing your work with us today!

Where did your inspiration for photography begin?

I first began in film photography back in high school, learning how to develop in the darkroom. However, It wasn’t until much later in life that I found my true passion in photography. I’ve been a baby-lover all my life, always wanting to hold and snuggle with babies, and just the pure amazement I feel when I’m around them. There’s always been a camera in my hands, but the first time I photographed a newborn in 2008, I knew I had truly found my inspiration.

How would you describe your photography style?

I would describe my style as pure, natural and simple with a sense of emotional storytelling. I always have a plan when I go in to a session with set ups, but I allow myself to express my creativity freely with no rules or boundaries. Storytelling can be created or can be unexpected and I like to be open to seeing the beauty unfold naturally.

Did you study photography in school or are you self taught?

I am completely self-taught, with the exception of photography classes in high school. I’ve never taken any college photography courses, although I wish I had. Maybe it would have helped things go a little smoother in the beginning. I’ve taken some online photography classes and a couple in-person workshops and seminars educating me in many areas of photography. It’s been a tough journey with ups and downs, but I truly believe that hard work pays off and the stepping-stones we take along the journey are what make us who we are today.

Do you shoot Canon or Nikon, and what is your favorite lens?

I shoot Nikon and my favorite lens is a tie between my 85mm 1.4 and 135mm 2.0, although, I don’t use either of these lenses with my newborn work. Any lens that has creamy bokeh wins my heart!

Do you have any tips for photographers on how to find the light?

Catchlights and pockets. Look for the catchlights in the eyes and pockets of light everywhere around you. There you will find the light. Study the light in everything you see; people, landscapes, nature, etc. It’s everywhere. I don’t think we can ever stop learning about light.

What is the most challenging thing about photographing newborns?

Trying to wrap a wiggly newborn. They are so cute, they make me laugh. I’ll get their hands tucked down and no sooner I have the wrap around them, and their tiny little hands have made their way out and they are staring up at me with this funny little look like they are saying, “Ha Ha, you thought you had me!”

What is a good lesson you have learned this year in photography or in your business?

Keeping myself on task. I tend to go from one task to another because I get bored. My mind never stops thinking, so I set task reminders on my phone to alert me when I need to move on to the next one on my list. This helps me get things done, most of the time. lol

If you could encourage a new photographer in one area, what would it be?

Believe in YOU.

Stay true to yourself and find inspiration in your own work. This is hard to do and one of the biggest things I see when I mentor other photographers. I have to remind myself of this too because I do the same thing. I think because we are artists and are striving at always wanting to be good at what we do, we get down on ourselves when we “think” we don’t stand up to our own expectations. We are better than we believe.

What do you love most about being a photographer?

Oh goodness…I love everything about being a photographer. I love the mornings when I wake up and sit in bed with my chai tea and laptop and have the luxury of checking in with friends and family. I love when I get to hold a brand new baby in my arms, the relationships I build each day, the joy of running my own business, the freedom to go to lunch with my daughters when I want to, and the feeing I get after creating a memory for someone that will be cherished the rest of their life. I truly love my life and am completely blessed beyond all my hopes and dreams to be doing something I’m so passionate about.

Where do you see yourself in 5 years?

In 5 years I will still be cuddling sweet babies, capturing memories for myself, and others, and continuing to enjoy this journey that God has blessed me with. I’m always open to what His plans are for me, and willing to go where He wants me to go.

blog_separator
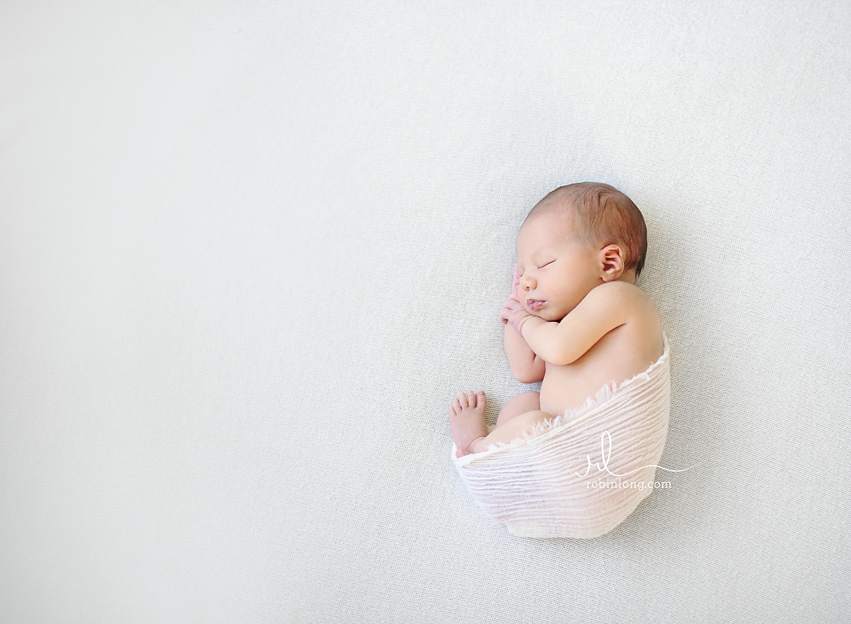
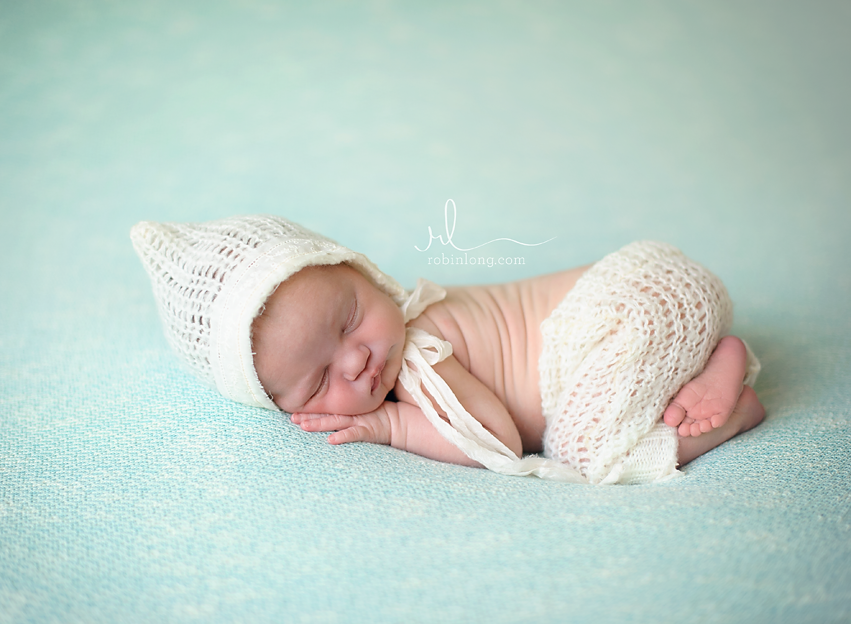
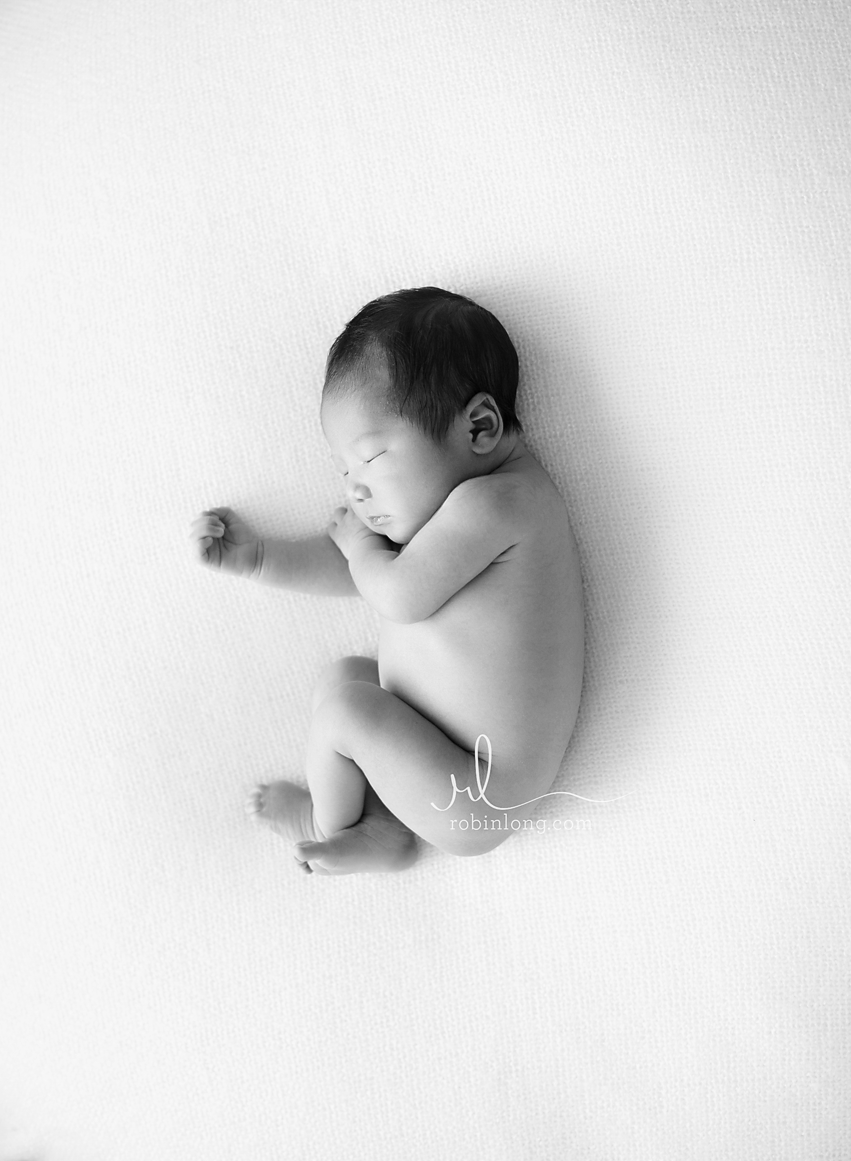
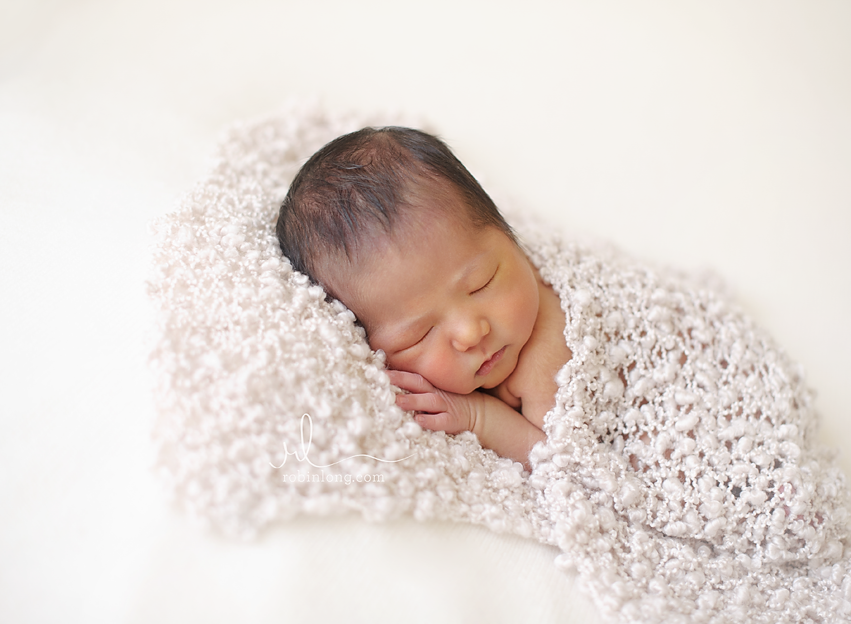
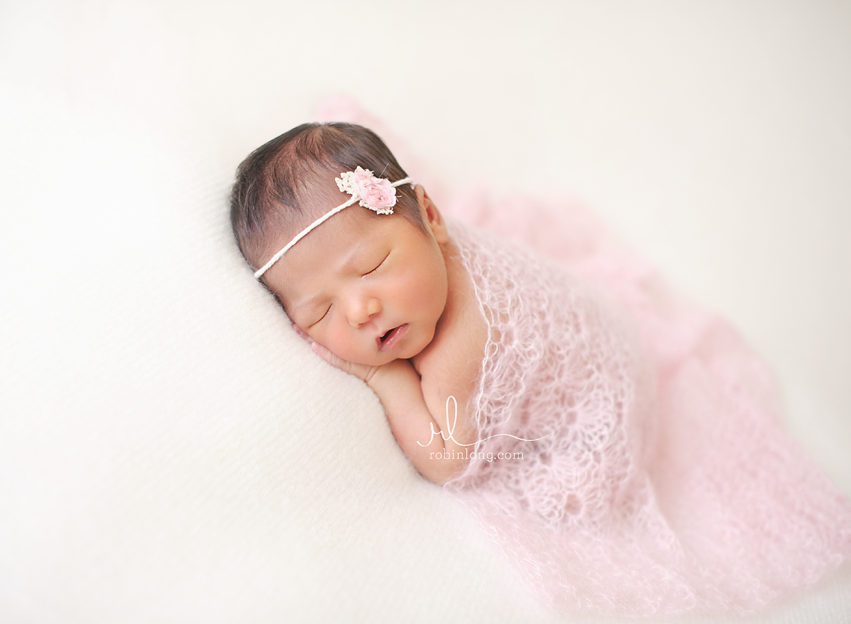
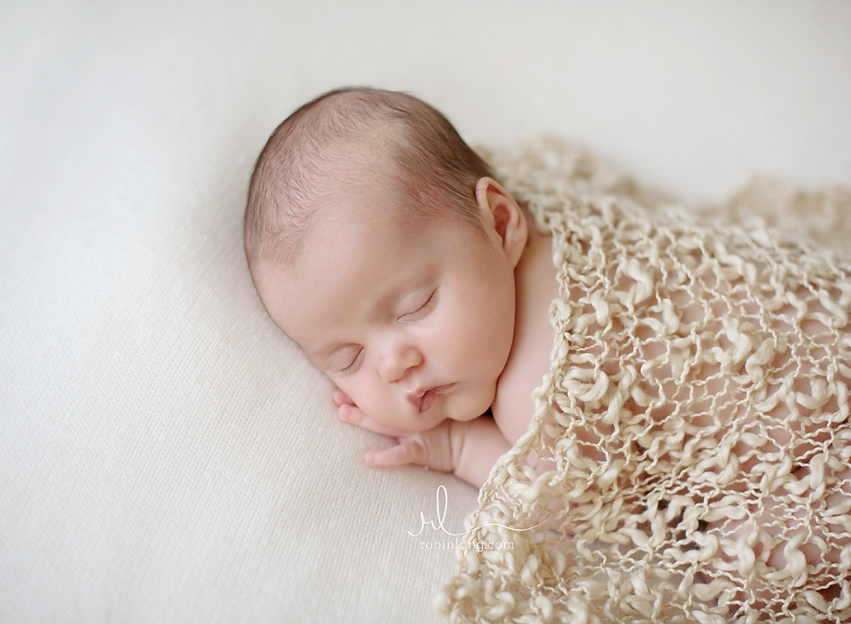
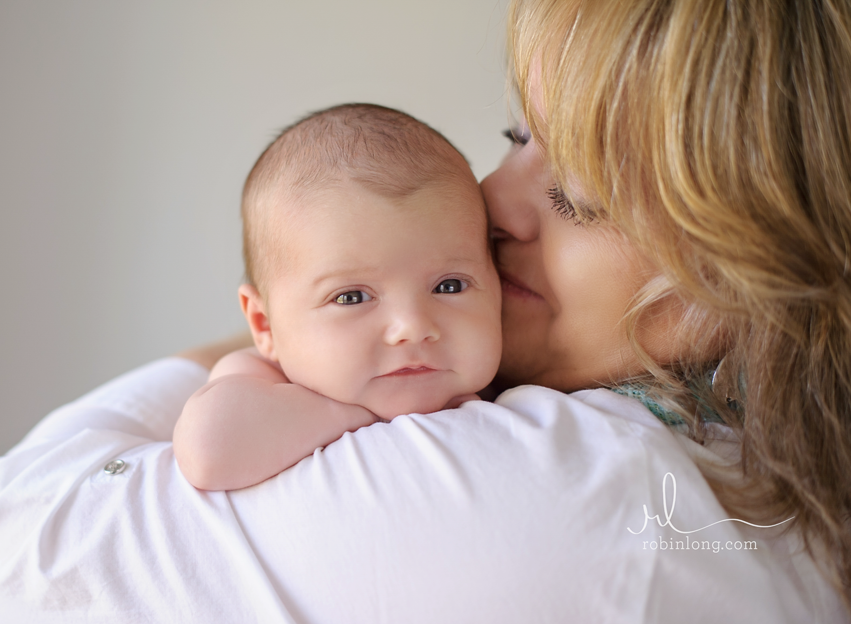
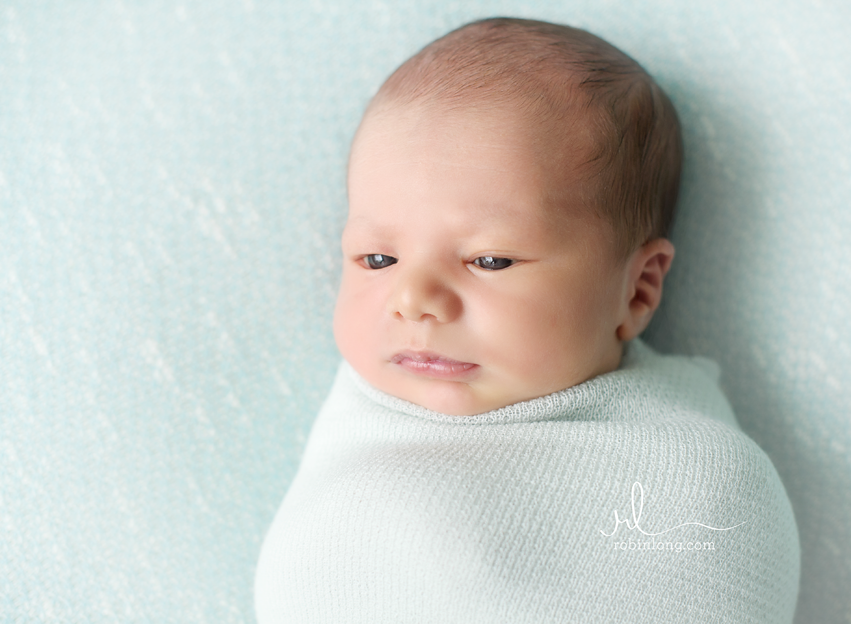
About Robin Long: Robin Long is a Multi-award winning photographer specializing in maternity, newborns and babies. Robin resides in Salem, Oregon with her husband and three daughters, and travels the US and Internationally, teaching and speaking to photographers about newborns. She is the author of the newly released book, “Natural Newborn & Baby Photography” available worldwide. Robin also travels to Los Angeles photographing celebrity and high profile clientele through purebaby® LUXE.

Visit Robin at her WEBSITE | BLOG | FACEBOOK | TWITTER | LUXE | SHOP 


Tweet


2 Comments

  • « Previous Page
  • 1
  • …
  • 11
  • 12
  • 13
  • 14
  • 15
  • …
  • 30
  • Next Page »

Popular Categories

You might also like

Love of Lifestyle Photography Workshop by Ashley Spaulding

Love of Lifestyle: The Fundamentals of Lifestyle Photography

The Lightroom Lab: An 8-Week Course to Mastering Lightroom

Pretty Forum for Photographers

Let Them Eat Cake—A Marie Antoinette Inspired Shoot

Tips to Keep Your Images Interesting in Limited Surroundings

Natural Light: The Art of Finding Magical Light

Copyright © 2025 · Divine theme by Restored 316

Copyright © 2025 · Divine Theme on Genesis Framework · WordPress · Log in

×
Never miss a thing!
Sign up for Pretty Forum Newsletters and get all the latest news on our upcoming:
  •  
    ​Workshops
  •  
    Celebrity Mentors
  •  
    Free Downloads 
  •  
    Photo Challenges
  •  
    Vendor Discounts
  •  
    and much more...