• Pretty Forum
  • Pretty Presets
  • Pretty Actions

Pretty Forum

Online Photography | Forum | Workshops | Tips | Tutorials | Classes | Business | Courses | School

  • Home
  • Blog
  • Enter Forum
  • Workshops
  • About
    • Meet the Team
    • FAQ ABOUT JOINING THE PRETTY FORUM
    • WHY JOIN THE PRETTY FORUM
    • Testimonials
    • Privacy Policy
    • Site Terms and Conditions of Use
  • Advertise
  • Contact
  • Join

Guest Contributor

RIP • DEATH OF THE SNEAK PEEK & PROOFING GALLERY

by Guest Contributor Elizabeth Halford

Have you ever read something that was SO…so…DUH! Something that made you baffled and ask “Why didn’t I think of that?!” That’s what happened when I read Ariana Falerni’s blog post on the death of the sneak peek.

Since reading that, I’ve been commenting here and there on my new business strategies but haven’t given you the whole story. And I’m getting email after email asking what I’m talking about when I say things like I don’t post a preview until the client buys.

So this new bizstyle of mine comes in two parts:

1. WHY I DON’T POST A SNEAK PEEK

  • Ariana (of Becoming Mom) said it perfectly: “The sneak peek…is kind of like seeing a bad movie preview. You know the ones I mean – the “comedies” that have like 5 funny jokes and you realize when you see the movie that you already saw all of the funny jokes during the preview.” This was the big lightbulb moment for me. If you show your clients the 5 best shots (which they can, by the way, just steal off your website) then when they’ve waited anxiously two more weeks to see the rest (because they think that EVERY photo will be as good as your 5 best!) they feel disappointed and instantly fall out of love.
  • People have a short flippin’ attention span. I mean SHORT. I can’t tell you how many clients have paid my £100 session fee (not that much, but a lot for my demographic) and then never buy ONE.SINGLE.PRINT. I kid you not it happened to me all the time. Now, I attribute most of my past failures to lack of expectation management but now, even with measures in place to manage expectations, I still get no-sale sessions and I’m putting this down to the sneak peek and the online gallery. One they’ve had a couple weeks (or even just a couple DAYS) to drool over the sneak peek, send the link to all their friends and family and go back to them over and over again, they ‘get over it’ and move on to the next shiny thing that comes their way.
  • When DO I post the session highlights? After the sale or after it’s clear that your client is a no-sale. Now, this is really really hard to do. It’s really going to take some self control not to post your weekend pride and joys but trust me. Just try and see what happens with your next few sessions when you combine this with the death of the online gallery.

2. WHY I DON’T DO ONLINE GALLERIES

You’ve gotta kill that sucker d.e.a.d. dead. This is why:

  • Like I said: short attention span. I stopped doing online preview galleries that stayed up until the clients decided they were ready to buy. Because then, you’ve got tons of sessions still up in the air, never resolved with the main purpose: the sale. So I began putting a 30 day limit on my gallery. Clients had 30 days to buy. These galleries were heavily watermarked and un-stealable. But still, little sales.
  • People are fickle. And impulsive. The world is moving SO fast and 30 days is toooo long. When you give them the luxury of looking at their photos for 30 days they fall out of love and move on to, as I like to say, the next shiny thing that comes their way. Like this:
  • Have you ever gotten this email: “Hi I’m so sorry I haven’t responded to your email/call. We’ve just been sooo busy we took two holidays this summer and, you know, we just can’t afford any photos.” Gee thanks! You just admitted plunking potentially thousands on a summer of holidays and you can’t follow through on the session you paid for? What’s most confusing about this is that we make every effort to make sure our clients are really committed to the endeavour, right? Afterall, that’s one of the reasons we charge a session fee. 1.) They’re not serious unless they’re willing to invest and 2.) Once they’ve already made a financial/time/emotional investment, they won’t walk away without fruits of their labour.

WHAT’S THE SOLUTION?

Well you’ll have to come back next week to find out! Afterall, short attention span…are you still even reading? LOL :*) Love you guys!

www.elizabethhalford.com

Tweet


50 Comments

Guest Contributor

Awesomize Your Product Photos

by Guest Contributor Mayi Carles

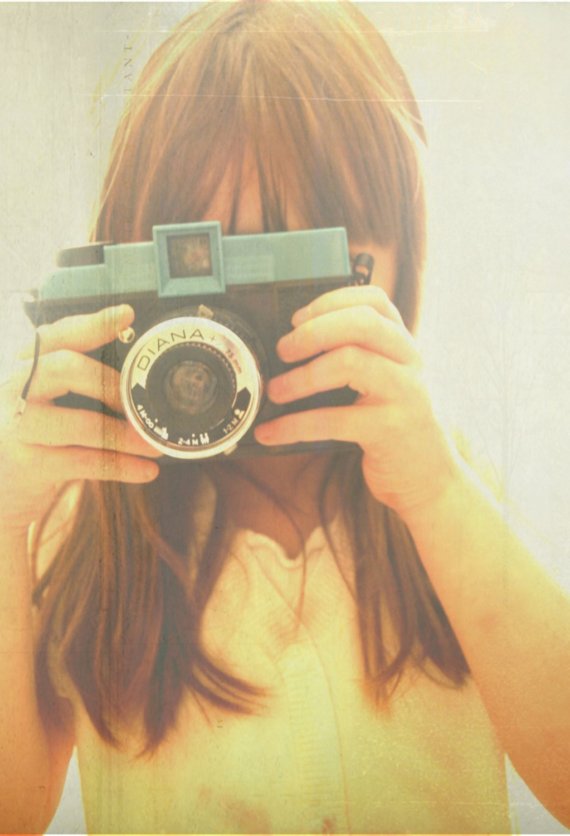
One of the biggest challenges I’ve faced since opening my online boutique + starting my blog is learning how to master the art of photography. And by photography I mean stunning photos that sell + brand + tell a story + get an idea across. I really wish I had paid a bit more attention to my Photography 101 teacher. Darn it!

There are lots of things that make a beautiful photo + today I’ll cover the basic elements.

When taking a photograph here are some key elements you should be thinking about:

1.    Composition. Use interesting backgrounds to make your items pop, being very careful about your composition so it’s not too crowded or too boring. Play with textures + props. Light fabrics + vintage books + scrapbook pages are awesome + easy to use alternatives.

2.    Angles. It’s important to take lots + lots of pictures + from various different angles, so you have a wide variety to choose from when editing + so your customers can get a sense of the products from all sides.

3.    Lighting. Shoot your products in clear bright daylight or in a light box if you have one. There is nothing more unattractive than seeing a product in darkness. Play with the settings of your camera to suit your needs.

4.    Editing. Don’t stress too much about your photo shot, you always have the editing process to retouch your images. Experiments with brightness + contrast + color features. By the way, you don’t need fancy photo-editing software. I personally love picnic to fix my photos + to make collages. It has many of the cool features that expensive photo editing programs have, but it’s completely free.

5.    Staging. If you are selling clothes + shoes + accessories, show your items on an appropriate model. This will give your shoppers an idea of how the product looks on. If you are selling cake toppers, stage a party scene. Set the mood + atmosphere for what you want to get across.

By thinking of these key photo guides when shooting your next photo shoot, you are sure to awesomize your photos + please your customers + probably even land some sweet sales too.

What things do you think about when taking your photos? Please do share below.

xo,

Mayi Carles

blog_separator

Mayi Carles is a Panamanian multi-passionate artist (http://www.mayicarles.com) + avid eco-friendly designer (http://www.etsy.com/shop/mayicarles)+ the heart behind heartmade blog (http://www.heartmadeblog.com)+ creative coach (http://www.heartmadeblog.com/mayi-content/one-on-one-consultations). To connect with Mayi, follow her tweets at @mayicarles (http://twitter.com/#!/mayicarles).

Image Credits

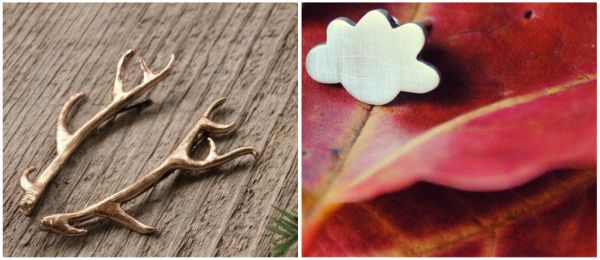
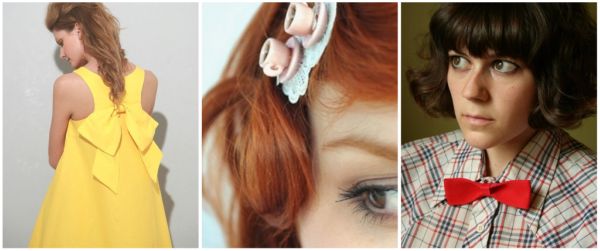
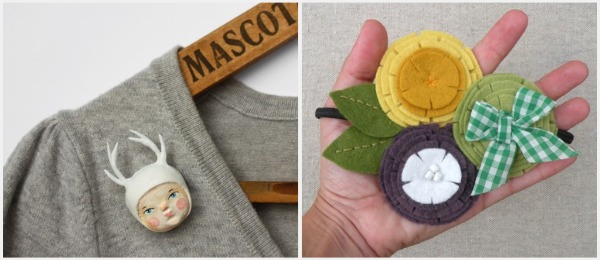
Image Credit: the portrait (http://www.etsy.com/listing/49874824/the-portrait-5×7-fine-art-print) via light fantastic; gilded bronze hair pins via woodland belle; cloud studs via the angry weather; sunshine bow via nadinno;tea cup bobby pin via chou chou; large red bow via bowlabeau; white wood dweller brooch via sweetbestiary;flower headband via mayi carles

Tweet


Leave a Comment

Business & Marketing Guest Contributor

Creating a Niche in Your Local Market: Defining Your Style and Self for Successful Marketing

by guest contributor Tara Staton

My husband is military. So that means I don’t really get the luxury of staying in one place and building a client base for years. When we move, I have to be very efficient at putting myself out there and creating a client base rather quickly. As annoying as it might be sometimes, it has forced me to quickly get a good grasp on my marketing and business side of things. Because if I can’t produce income from this, then it is just an expensive hobby and not going to benefit my family.  As much as I love what I do, I just can’t justify doing it if it takes something away from them.

So you have decided to take this photography thing to the business level. Unfortunately most people don’t really think this through before they do it. They say “hey I can make some cash doing this” and they start shooting for anybody and everybody who will hire them. As a result they end up very unhappy and swamped with bad clients that don’t value what they do, and end up doing shoots that they are unhappy with.

First you have to know what you are selling. Your answer might be, “I’m a photographer, I sell photo sessions and pictures”. This is where you need to take a step back and ask yourself a few more detailed questions. In order to market yourself and your work WELL, you need to have a firm handle on exactly what it is that you do and what you WANT to do. In order to know exactly what it is you offer, or want to offer, you have to have already figured out your style and what you want to shoot. If somebody asks you what you do, there should be a little something more to the response than “I’m a photographer”. That term can mean so many things! You need to have a plan and haved asked yourself the following:

What style/type of photography do I offer?
Photojournalism, portrait, studio, etc. Making up your own type is ok too! 🙂 I call mine Environmental Portraiture. Don’t make yourself shoot something you don’t enjoy! It is NEVER worth it in the end.  I also take this a step further. I don’t just sell a certain type of photography, I sell an experience.  My clients hire me not just for the end result image, but for the session experience as well.  This is a HUGE part of my business and why clients hire me, and I want to keep it that way. I don’t want bargain shoppers, I want people looking for that experience.

What products do you WANT to sell, and which best add to your style of image?
For example, I get a lot of moms saying “well so and so offered this, or sears gives this why don’t you? Well I’m not Sears. 🙂 I’m me, and I will only sell things that I myself would purchase or that accentuate my work.  There are limitless options out there and something for everybody. So make sure you take the time to investigate and find what fits you best!

Is what I offer going to last?
Are you going to create return clients? (because lets face it, we make money only if our clients are happy and return/refer others). Are you selling something that is going to withstand the test of time and grow with you and your clients?  Its fun to play with all the new trends, but remember, on the business side there needs to be consistency.

What do I want my work to portray or say about ME?
Often we focus on what the image says about our subject. Which is great and we should! However, our own personal style and emotions still come through in our work…or they should.  That is what makes it art. If we loose that, then we loose the art side of things and it becomes mostly business.  So be sure of what you want your art to say about you, and be sure not to compromise that!

Most people find they can’t do it ALL.  Nor do they want to! I know I have my preference for types of shoots that I do or that I am better at than others. For example, I know as much as I love babies….I am no baby whisperer and newborn shoots do not come easy to me.  However, I occasionally agree to do them because I want that client to return when that baby is older and when they want family pics, etc!  So I pick and choose that wisely.   If you try to do it ALL forever you aren’t going to find your place or what gives you any longevity in your market.  So I always say, never say never, give everything a try……but don’t ever force yourself to do shoots that don’t make you happy or make you feel like you have lost your vision as an artist.  Ultimately if YOU KNOW who you are as an artist and in business, you can create that niche that you want in your market.  Because nobody can be you! However if you are always trying to conform to trends or what others want or are doing….it is going to be a lost cause. 

blog_separator

About the Author:   I am a mom, wife and photographer based out of Washington state.  I specialize in environmental portraiture and offer workshops and resources for other photographers.  I am absolutely IN LOVE with what I do and love sharing it with others! Visit Tara’s WEBSITE today
Tweet


12 Comments

Guest Contributor Post-Processing

Color Photo Editing: Making Textures Work for You

 by Guest Contributor Jessica Drossin

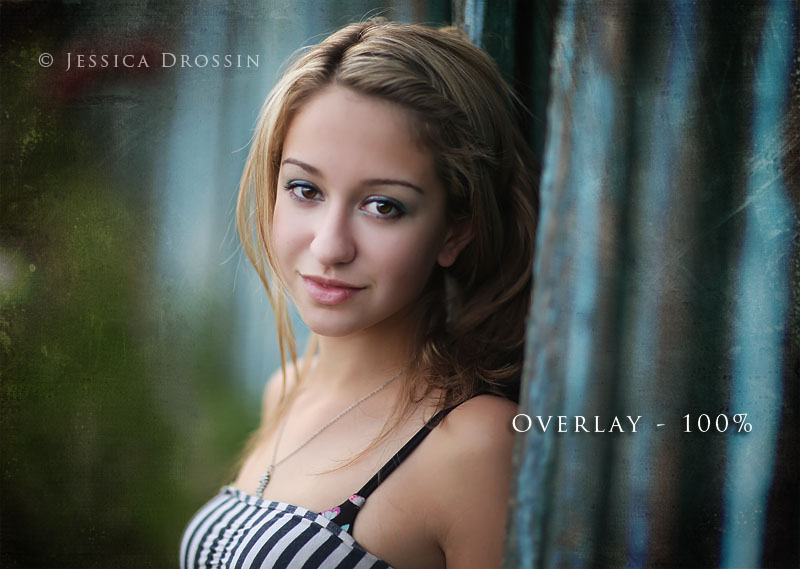
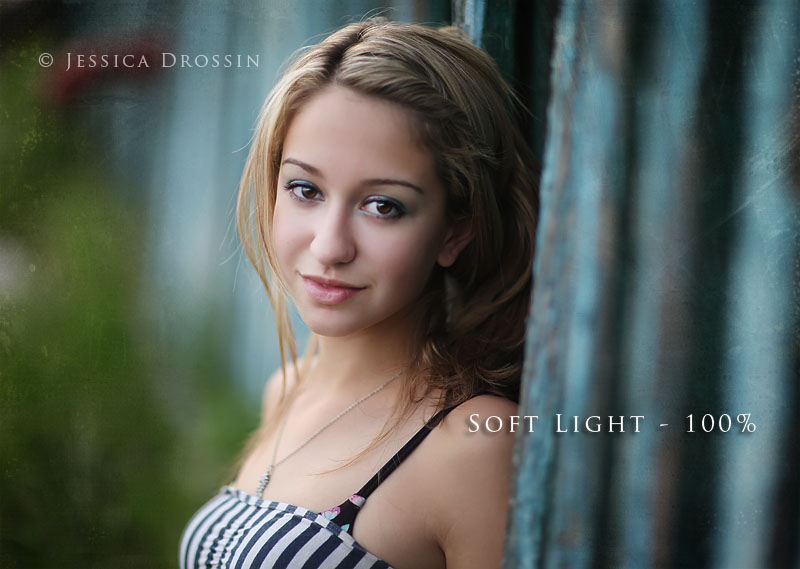
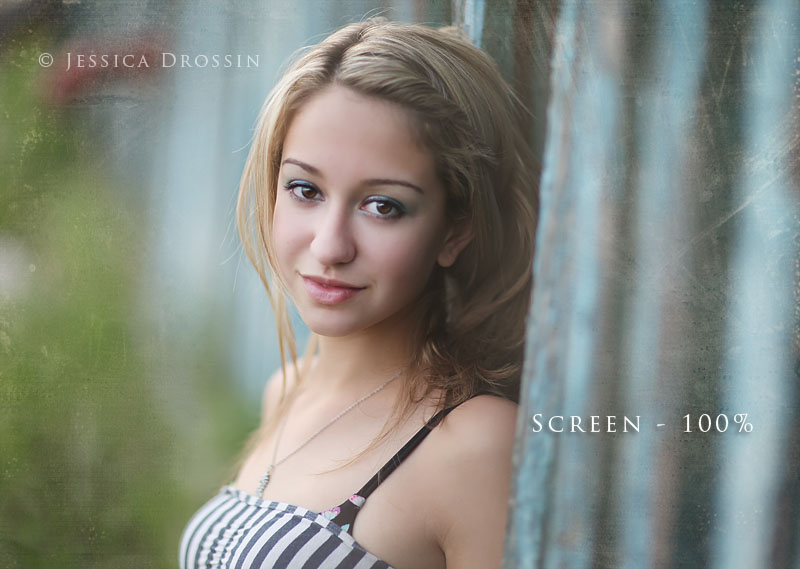
When I’m working in color, my main layer blending modes are Overlay, Soft Light and Screen. I generally apply them at 100% and then either blur, mask, or paint over the texture’s detail where it comes in contact with the skin. I also frequently blend out texture details by 20-30% in the areas around the subject.

Here is an example of my work flow and how I determine which mode to use:

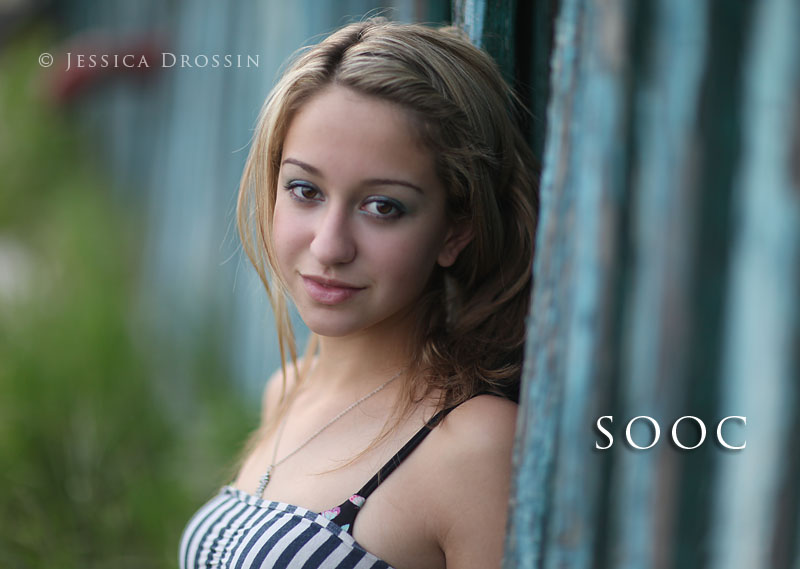
SOOC IMAGE

I loved the expression on my client’s face, but I underexposed the photo slightly. My first step was to color dodge her cheeks, eyes, forehead and some of the background to add selective brightness and contrast.

STEP 1 IMAGE

Then I determined the texture I wanted to use. In this case, I chose “Destitute” from my Texture Pack 2. I placed the texture jpeg on top of the photograph and stretched it so that it completely covered all edges of the background photo.

STEP 2 IMAGE

At this point, I did a few things to get the texture off my client’s face. First, I selected a medium-dark brownish tone from the texture itself and painted over the skin tones area so that I could keep the textures tone, but eliminate the texture’s detail over skin tones. I also decided that I wanted to mask out some of the color. Here you can see the texture in “Normal” mode at 100%.

Once I’ve got my painting & masking completed, I like to see the image in my three favorite modes…

OVERLAY IMAGE


SOFT LIGHT IMAGE

SCREEN IMAGE

In this instance, I decided I liked Soft Light best. To finish the image off, I added a slight overall saturation and then created a slight s-curve to add a little more overall brightness and contrast.

FINAL

 Special thanks to Guest Contributor Jessica Drossin for this beautiful example of how you can use textures to create unique and stunning images. 

blog_separator

About the Author:  As former painter and graphic designer, when I discovered I could add textures to digital photography to enhance and alter my images, I was hooked. Two years ago, I started making my own textures and selling them in packs. The packs don’t represent a theme, i.e. “urban” so much as they represent my constant search for new and unique ways to help me edit my own photography work. I love the feeling of collaboration that comes with having other photographers use my textures in their art.
Visit Jessica at her website:  Jessica Drossin Textures

Tweet


15 Comments

Photographer Spotlight

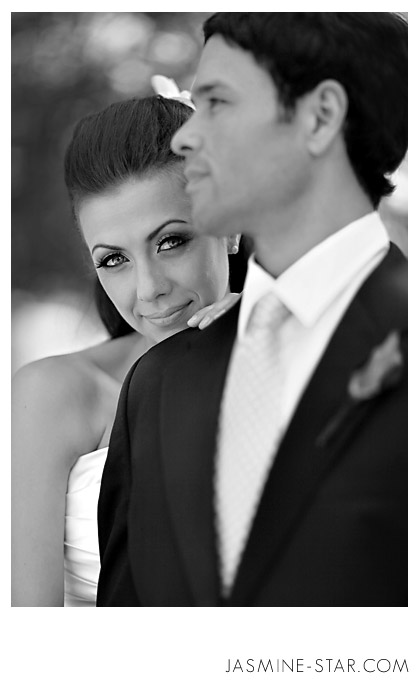
Photographer Spotlight: Jasmine Star

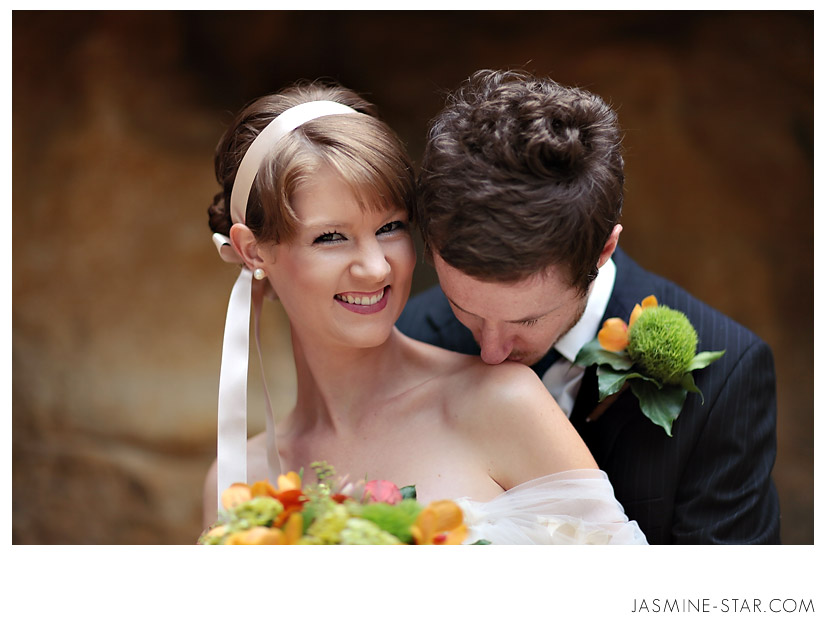
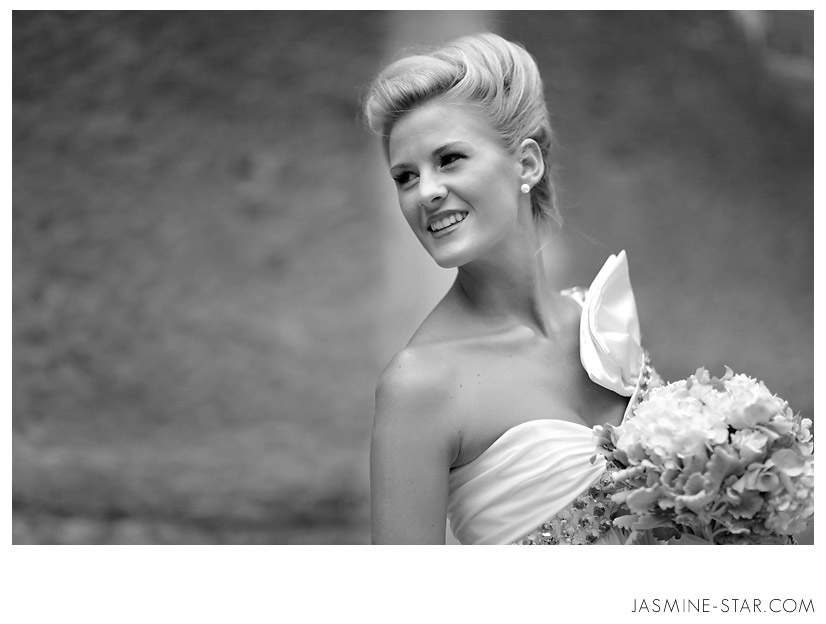
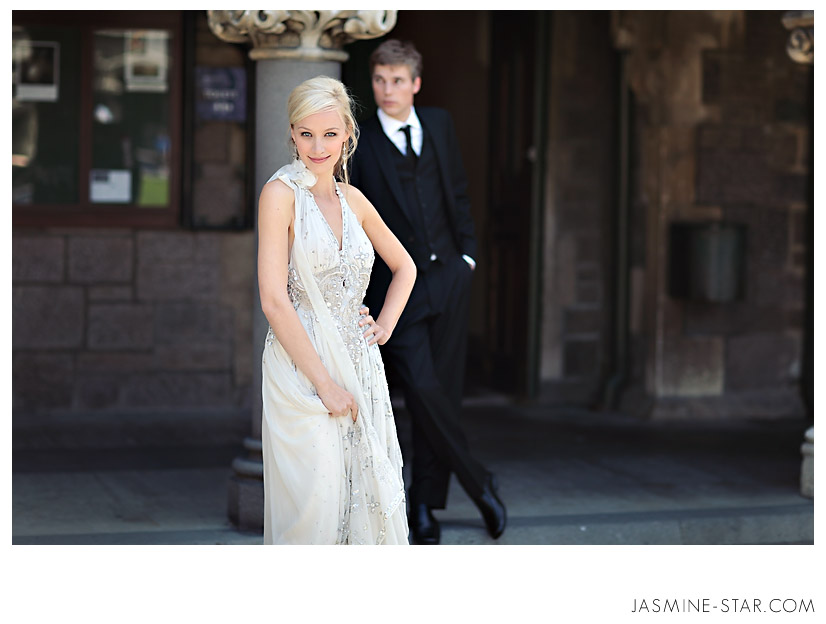
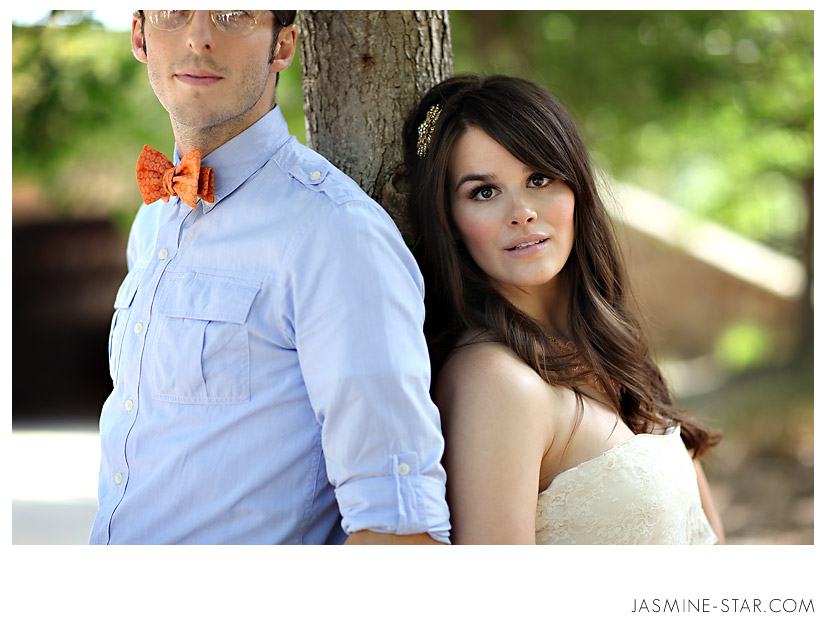
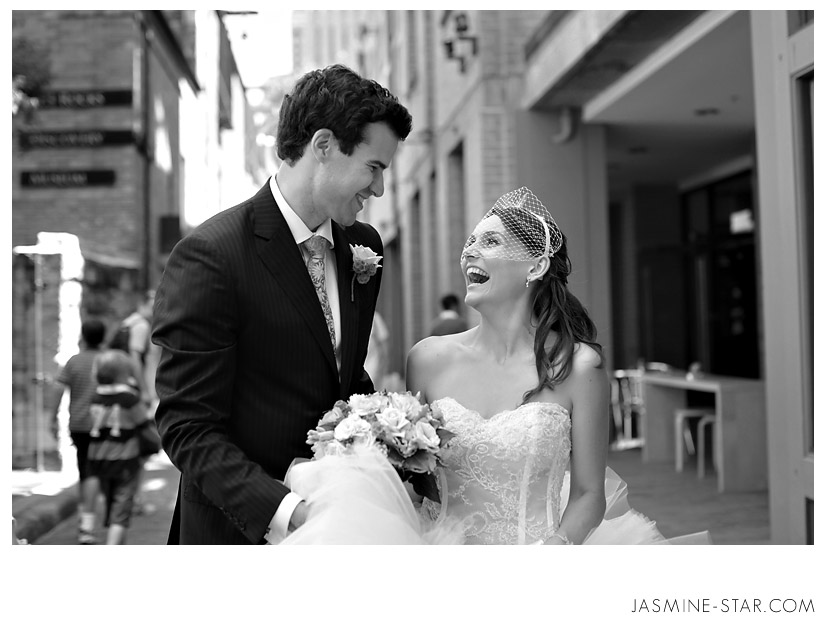
This week Rock the Shot welcomes Jasmine Star.  Jasmine Star is a truly amazing photographer, and a brilliant business woman!!  She was voted as one of the top 10 wedding photographers by American Photo magazine.  Her images are clean and beautiful and full of pure emotion.  We are so excited to have Jasmine share her knowledge and talent with us today and hope you enjoy getting to know her better!

When did you decide that you wanted to photographer?

I was at UCLA Law School and I was truly depressed at the prospect of me becoming a lawyer.  For so long, I thought it was what I wanted, but I had a hard time admitting I was wrong. During school, my mother had a relapse with brain cancer and I took a medical leave to be with my family.  During that time, my boyfriend proposed and we planned a destination wedding in Hawaii.

As I searched for wedding photographers, I completely fell head over heels with photography.  When I found my wedding photographer, David Jay, I knew it was a perfect match.  His imagery moved me, challenged me and inspired me.  Shortly after returning from my honeymoon, I made the decision to leave law school and pursue my dreams of being a photographer.

What do you think makes your work so successful?

To be honest, I have no idea.  For a while I was afraid to admit this out loud, but now I embrace it.  If I knew the secret of my success, I might only focus on that single thing and let everything else lay by the wayside.  Perhaps the secret of success isn’t really one thing, but, rather, a cocktail of hundreds of passionate ingredients.

If you have learned one thing in the past year, what was it?

I’ve learned to not care what others think of my work…or me.  There was a moment in 2010 when I felt like I was drowning in a sea of criticism and negativity, but one morning I woke up and realized I had it all.  Everything that mattered in life was something I possessed:  A loving husband, an amazing family, best friends, a warm bed, a full fridge, my health, and an adorable dog.  What more could a girl ask for?!  There came a point in my career when I realized I don’t need to convince everyone of my worth…I simply need to convince 25 brides that I’m the perfect photographer to document their wedding.  And I did.  I’m just a girl who’s following her heart, loving my passion, and having fun along the way.

For those who don’t like it, stop looking!  🙂

How do you come up with inspiration for new ideas?

Reading, museums, movies.  Church, volunteering, teaching.  Giving, receiving, feeling.  More than anything, I’m inspired when I feel. There are moments when I’m completely drained or tapped out…then something happens (I read a book, I watch a movie, I visit a museum) that makes me feel something in a new way.  When this happens, I am inspired and challenged to view the world in a new way.

How do you manage your busy life and schedule?

Well, I’ll be the first person to admit me and Balance are sometimes adversaries…and she’s given me a black eye from our brawls in the past. However, I try extraordinarily hard to keep life balanced by maintaining a very scheduled and organized lifestyle. JD sometimes refers to me as The Machine. As in, don’t get in my way because I may just RUN YOUR OVER WITH MY CALENDAR AND POST-IT NOTES. Monday through Friday are work days for me and I treat them as such, which means I wake up and start the work day as if I had any other job. Here’s what an average work day looks like for me (and, no, not everyday is a work day as I have shoots and extended meetings some days):

6:30am – Wake Up (it’s just the time my body naturally arises…I abhor the alarm clock!) and Pray
7am – Email (I dedicate just a small segment of my day to email…anything I don’t finish in this time is transferred to the next day, unless it is a business or client email which gets answered in 24 hours)
8:15am – Walk Polo with JD (this is one of my favorite times of the day…25 minutes to map out my goals for the day and simply enjoy time with my boys)
9am:  Workout
10:30am – Blog/Edit/Process
12:15pm – Lunch
12:45pm – Walk Polo with JD (another opportunity to take a break from my computer and breathe a little in the warm sun)
1pm – Edit/Process/Meetings (if applicable)
6:30pm – Walk Polo with JD and Dinner

I will definitely close my computer at 6:30pm…most of the time. Yes, there are days when I need to cram work out for a deadline, but other than that, I try to keep the evenings for my family. I work long, hard hours, but I need to ensure I carve time to enjoy my evenings and just check out.
It’s of utmost importance to keep your loved ones in the forefront of your life and when I first started my business, I lost sight of this notion. I was buried in work, glued to my computer, and generally frustrated. The minute I started organizing my life, prioritizing my work, and outsourcing, I gained back everything I wanted: Freedom to choose the lifestyle I wanted. There are days when JD and I decide to take an extended lunch in Newport Beach or watch a matinee or simply sit in a park under a tree. Having structure provides me the luxury of looking at my week and knowing where I can splurge and skimp, and always keep my family first.

How do you create such amazing posing techniques and make it look so natural?

At the beginning of each shoot, I state the obvious:  “You’re probably nervous.”  Once we get that into the open, it puts clients at ease.  I don’t show up to a session expecting my clients to act like models…it’s my job to make them look like models.

I start each photoshoot simply by talking.  No stress, no drama, no pressure.  We walk, chat, and I explain what I want them to do, but–moreso–how I want them to feel. That changes everything.

What do you do to make your clients smile and give you a true laugh?

I’d venture to say most clients are frozen…but why would I expect them NOT to be?  They’ve never done this before!  🙂

I do my best to talk from behind the camera…and keep the mood light.  You can’t expect clients to laugh on cue, so think of ways to make them laugh…either at you, or at each other.

In all truthfulness, it’s a photographer’s job to, literally, give their subjects something to do.  Directions, feedback, encouragement.  Some of the best photographers are the best directors in my opinion.  Sure, it can be difficult at times (I’ve been known to cuddle with a groom to shown the bride, precisely, what I wanted her to do), but it’s something photographers work on to make the client experience better.

What is your favorite lens and why?

Canon 50mm, 1.2
This is my Go To lens. My favorite. My baby. My sister-from-another-mister. I adore this lens and could shoot an entire shoot with this lens alone. It produces some of my favorite imagery and has helped define my style.

How important is pricing when starting a new business?

This depends on a myriad of factors (experience, business theology, necessity, genre, etc), but I wrote a blog post detailing how I started my business and pricing structure.  For a complete read, you can check it out here:  http://www.jasminestarblog.com/index.cfm?postID=766&faq-pricing

What is the best piece of advice you would give a new photographer who is just starting their own photography business?

When I think back to when I first started, I can’t help but feel sorry for that girl. The girl who didn’t trust herself enough to take bigger risks. Who didn’t dream big enough. Who limited herself by her own experience and other people’s estimations of what was possible.
If I could go back and tell the Jasmine Star of 2007 something, I’d whisper in her ear: Believe in what you know you can do. Trust your gut. Ignore the naysayers. Dream big, but hope for more. However, knowing myself back then, I would ignore the whisper…so then I’d grab me by the shoulders, give me a good shake, then holler straight in my face, SPRINT TOWARD WHAT YOU WANT AND DON’T EVER LOOK BACK. Ever.

About Jasmine Star: I’m Jasmine Star and I’m an international wedding photographer based in Orange County, California. Though I’ve garnered awards for my work and was voted Top 10 Wedding Photographer by American Photo Magazine, my crowning accomplishment was making meatloaf for the first time last year. I, however, still need to work on making the meatloaf edible.

Beginning just four years ago, I developed a voice and online brand by leveraging social media and developing techniques to empower clients to become the voice of my brand. I live with my husband and fabulous dog, and at times struggle to determine who is my favorite. I love to eat chocolate, run on the beach, and spend too much time writing on this blog. I hope to take the wedding industry by storm. Or learn how to make meatloaf. Whichever comes first.blog_separator

Want to learn more about Jasmine Star?
Website
Blog
Twitter
Facebook
Tweet


32 Comments

Featured Vendor

Featured Vendor: Amanda from Everyday Elements

I am so excited to introduce you to someone I just love working with!  Amanda is a wonderful teacher and offers amazing workshops for photographers.  Take a moment to read all that she offers below and be sure to check out her website for more information. Amanda just posted a wonderful article about Rock The Shot on her blog. Thank you Amanda!

My name is Amanda and I am a homeschooling mom of four kids, ages 12 to 5, all whom run away when they see me carrying my camera.

I picked up photography as a hobby after my father passed away March, 2009. My mother (who passed away in 1993) was an avid amateur photographer and it was always something I thought I’d like to try one day. I realized life is short,  so I took the plunge and have loved every minute of it.

My camera bag:

  • Nikon D700 (new!!)
  • Nikon D200 (bought used)
  • Nikon 24mm f2.8
  • Nikon 50mm f1.4G
  • Nikon 35mm f1.8
  • Nikon AF 85mm f/1.8D Lens
  • Nikon SB-600 speed flash
  • Adobe Photoshop Elements 9 Software for Mac and Windows
  • Lightroom 3
  • Adobe Photoshop CS5 to feed my action-making addiction
  • Datacolor Spyder3Express Color Calibration System to keep my monitor colors right

About Everyday Elements

Are you new to photography and don’t really know how to get started editing your pictures? Or, are you wishing you could take better pictures for your blog and family? Everyday Elements may be just what you need.

Everyday Elements is a blog dedicated to teaching others about photography and photo editing (with Photoshop Elements). Amanda is the blog owner and she also provides live, online workshops, offering four different classes to suit your needs: Beginners, Intermediate, Skin Tones, Collages and Clipping Masks and Everyday Photography (to learn basics of photography and how to use a DSLR). Registration for a workshop includes access to private video tutorials for your level, five free actions, access to her before and after the class and more.

In addition to the workshops, Amanda provides weekly tutorials on either editing or photography, plus a growing library of free video tutorials and actions. So, even if you cannot attend a workshop, if you are interested in photography and editing, pop over to her blog and check out the great information!

After months of getting questions from people about how I did this or that with PSE, I started thinking about doing a workshop and covering everything at once. Well, one workshop has grown into five! The response from attendees has been very positive and rewarding! I really enjoy helping others utilize their editing software. I remember how frustrated I was when I first started and how blind I felt. My goal is to lead people out of the dark and into the light that is so much fun to be in! Within this site is a blog which I use to post tutorials, hold giveaways and share tidbits of personal information. Everyday Elements is also a resource to find other vendors’ actions, textures, workshops, templates and lots of other photography and editing products.  My experience and training with photography and editing can be viewed HERE.

Have something you would like to ask me? Please check out my Frequently Asked Questions page first. If it isn’t answered there, you can ask questions at my Facebook fan page, Flickr group or contact me.

Amanda is offering an exclusive code for Rock The Shot fans.  You can use this on anything except private lessons.  Use the code “rock25” and enjoy 25% off! http://everydayelementsonline.com/2011/02/rock-the-shot-new-forum-for-photographers/

Tweet


5 Comments

Guest Contributor Photographer Spotlight

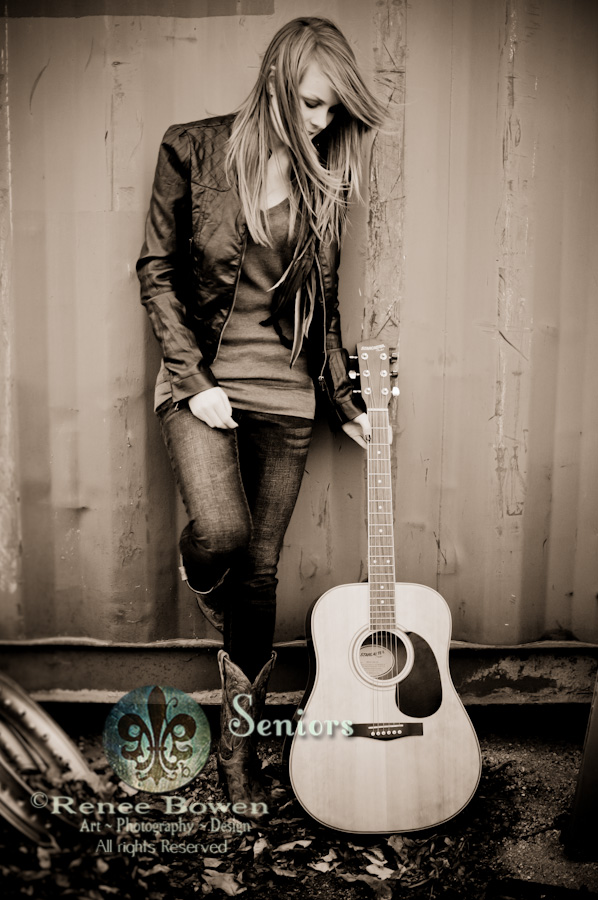
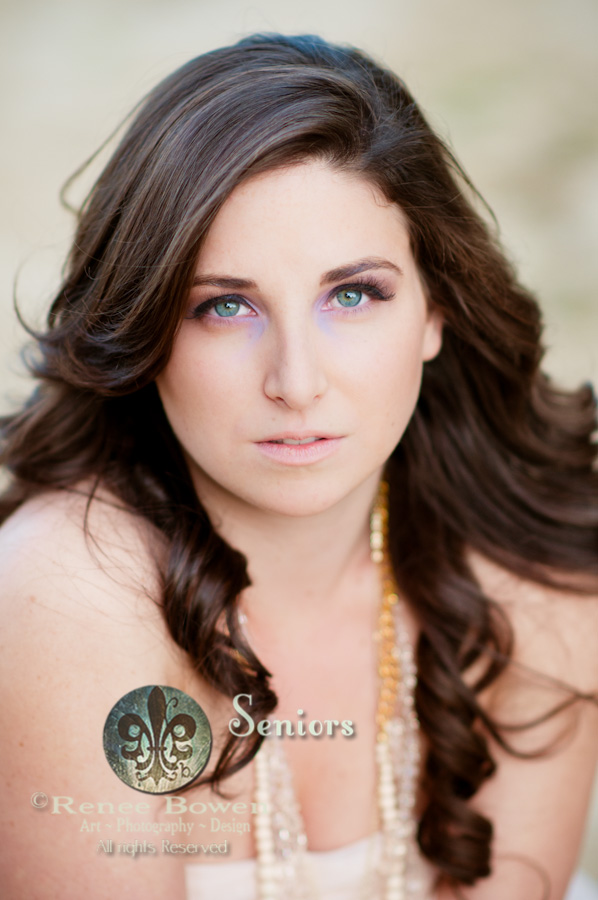
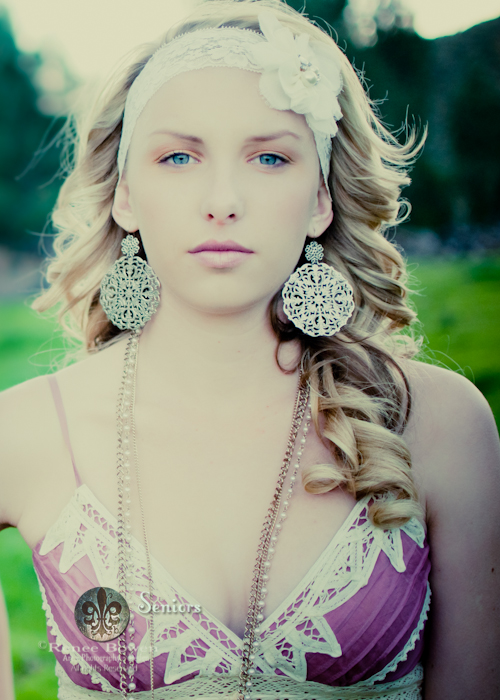
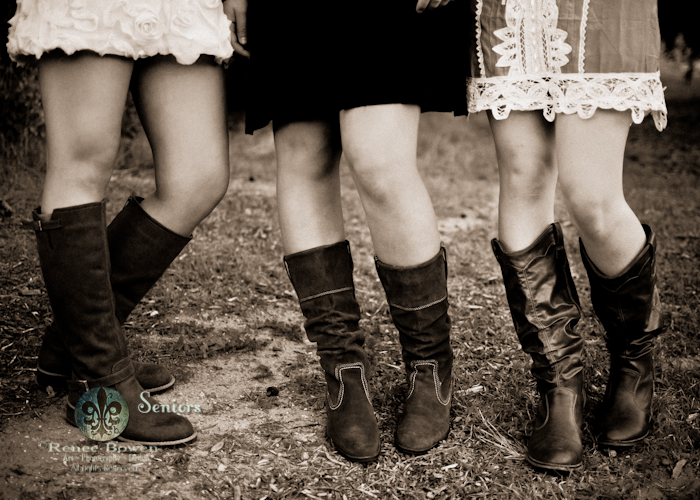
Photographing Seniors

by Guest Contributor Renee Bowen

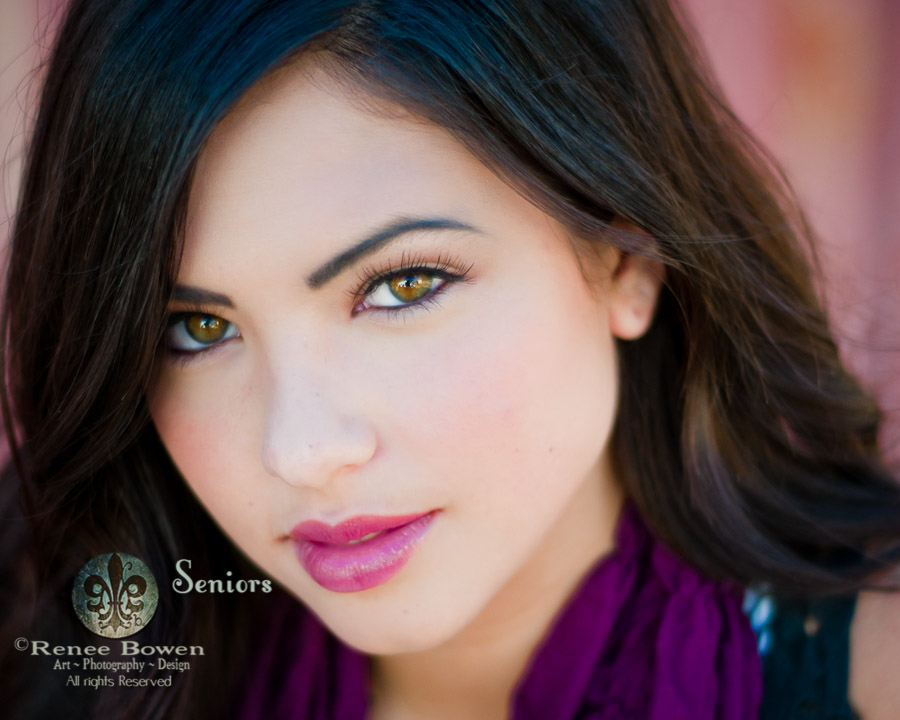
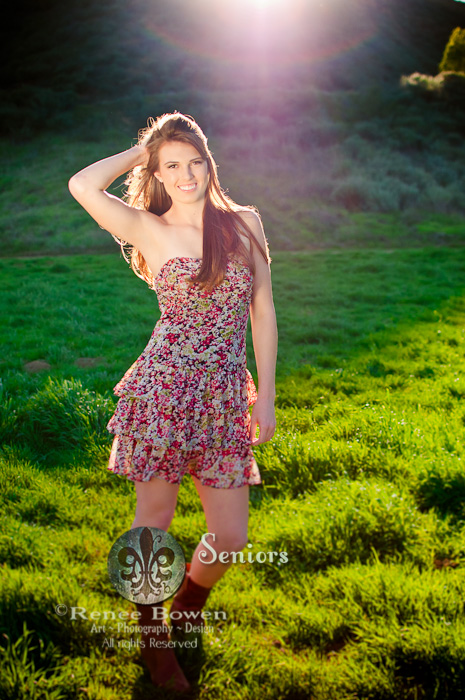
We are honored to have Renee Bowen on Pretty today.  Renee has such stunning pictures and has taken the time to share how she does it!  Thank you Renee.  Enjoy this wonderful article on photographing seniors.

So excited about Pretty!  I’m always looking for more ways to connect with people online ~ see what everyone is up to and just generally get inspired.  I think that no matter how far along you are in your career, there is always room to grow!

That’s why I’m happy to share some of my recent Senior Portraits here ~ I shoot a wide variety of events and portraits, but if I’m being completely honest…..seniors are my favorite.  Shhhh…don’t tell anyone 😉 I think the main reason I love shooting seniors so much is because we have entirely too much fun.  I shoot editorially and on location,  and give myself free reign to just create and be imaginative on these shoots.  Because we’re shooting outdoors and sometimes in new locations, you just never know what opportunities will arise – you have to be ready to improvise on a moment’s notice and be ready to notice a great setup when it reveals itself.  It also helps that most of my seniors are pretty much open for anything!   Oh to be 17 again!

One thing that makes my senior shoots a little different is that I include professional makeup application before and during the shoot.  I feel this is necessary, not only because the girls love and it makes the experience more special, but also because it makes my editing a whole lot easier.  😉  If they already look amazing straight out of the camera, my work is halfway done!

My workflow also changed when I started using Adobe Lightroom.  (I’m currently running LR 3)  Before this, I used Bridge, Adobe Camera Raw and Photoshop, and although I still use PS5,  I rarely open it.   I’ve found that I can get most, if not all, of my editing done efficiently in LR.   Presets = awesomeness.  I have purchased some and made my own as well….cannot recommend LR enough.  Get to know the the adjustment brush….it. is. amazing.  If you are finding yourself buried under mounds of editing….you might want to take a look at LR – and the tutorials are super easy to follow too.  I’m literally always online so if you have any questions you want to throw at me, here’s how you can find me:
Twitter:  http://www.twitter.com/ReneeBowen
Facebook: http://www.facebook.com/ReneeBowenPhotography
Blog:  http://www.reneebowenblog.com
Formspring: http://www.formspring.me/reneebowen
Portfolio:  http://www.reneebowenphotography.com
Seniors:  http://www.reneebowenphotography.com/Seniors

Tweet


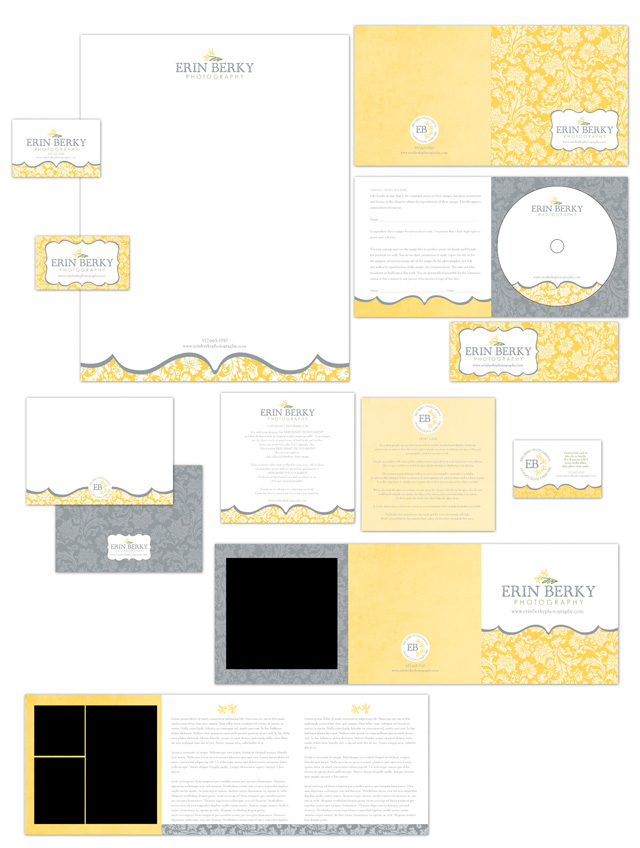
9 Comments

Business & Marketing Guest Contributor

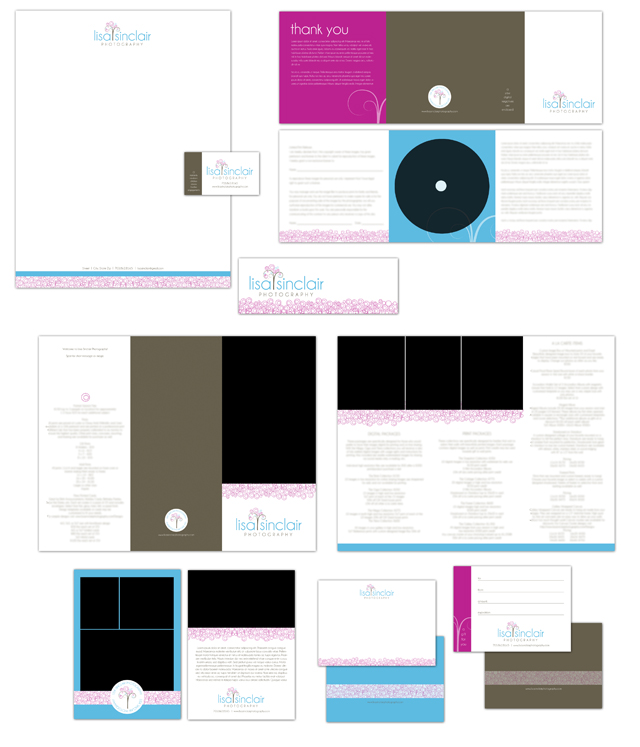
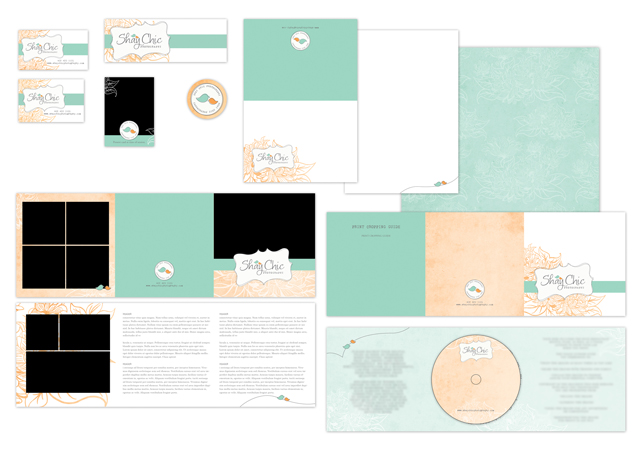
The Big Deal about Consistency

by Guest Contributor Kim Drury of Madilu Designs

Maybe you’re just starting out. Maybe you’ve been in business for a long time. Whatever the case, you’ve made a decision to put your business in the public eye. How you choose to present yourself to the public is very important.

Obviously you want to come across as professional. Consistency is just one part of the overall presentation. You know those logos that immediately come to mind? Think Nike, the American Red Cross, FedEx and more. Those are just a few, but chances are you know what they look like. One reason for this is because they are consistent. The logo has the same appearance, whether it’s print, web or promotional items. You see it over and over … and you remember.

How do you achieve the same success for your business? If you haven’t started developing your logo, it’s best to stick with something really simple until you’ve established a direction. Even just a line of text for your business name is sufficient. If you go too fancy, you run the risk of people starting to remember that as your logo. Think simple typefaces like Times, Century Gothic, Goudy, Garamond, Perpetua … these are a great start.

If you have a logo, it’s important to use it in the same manner each and every time. Don’t switch colors unless it’s part of your overall brand. If you have a pink and green logo, keep it pink and green. Don’t decide to switch it to blue and yellow one day and then purple and gold the next. It starts to confuse your clients.

It’s definitely OK to update and refresh your look. People do it all the time. The most important thing is not to do it too often. If you find you’re switching your identity every other month, you run the risk of clients not remembering who you are and having to start over.

Some businesses are so tied to their brand that their clients actually refer to them as such. “There’s the purple photographer” is commonly used among clients and industry peers for someone who has consistently used purple in her business. She even gives her clients a little purple promo item at the end of a meeting, making a lasting impression.

Other things to keep in mind are scaling and appropriate usage of the elements in your logo. Don’t distort to fill space. It changes the appearance.

If you have a logo with multiple elements, have guidelines for proper usage. Maybe you only use the name when space is too small to allow for your entire logo. It’s possible you’ll only be able to use a limited number of colors in a publication. Have something in place so it’s always the same. Reference Pantone colors or color values. Those are things to discuss with your designer and make sure everyone who has access to your logo, especially employees and vendors, know the correct manner in which your logo is to be used.

While it seems like it’s a lot of little details to remember, it pays off in the long run when people recognize you as a professional in your industry.

About the Author: Kim of MadiLu Designs specializes in custom marketing materials for photographers.  She has 15 years experience in the design and printing industry, and has been self employed for the past five years.  Kim is a mom two boys and two girls.  A few of her favorite things…  sunshine, hot chocolate, running and helping others.

Visit her website at Madilu Designs.

null

Tweet


7 Comments

  • « Previous Page
  • 1
  • …
  • 28
  • 29
  • 30

Popular Categories

You might also like

Love of Lifestyle Photography Workshop by Ashley Spaulding

Love of Lifestyle: The Fundamentals of Lifestyle Photography

The Lightroom Lab: An 8-Week Course to Mastering Lightroom

Pretty Forum for Photographers

Let Them Eat Cake—A Marie Antoinette Inspired Shoot

Tips to Keep Your Images Interesting in Limited Surroundings

Natural Light: The Art of Finding Magical Light

Copyright © 2025 · Divine theme by Restored 316

Copyright © 2025 · Divine Theme on Genesis Framework · WordPress · Log in

×
Never miss a thing!
Sign up for Pretty Forum Newsletters and get all the latest news on our upcoming:
  •  
    ​Workshops
  •  
    Celebrity Mentors
  •  
    Free Downloads 
  •  
    Photo Challenges
  •  
    Vendor Discounts
  •  
    and much more...